As you've likely observed, digital photo frames have surged back into the spotlight in 2023, driven by the latest technological advancements. Embracing this digital resurgence, we've embarked on a journey to thoroughly examine and compare two intriguing contenders in the field.
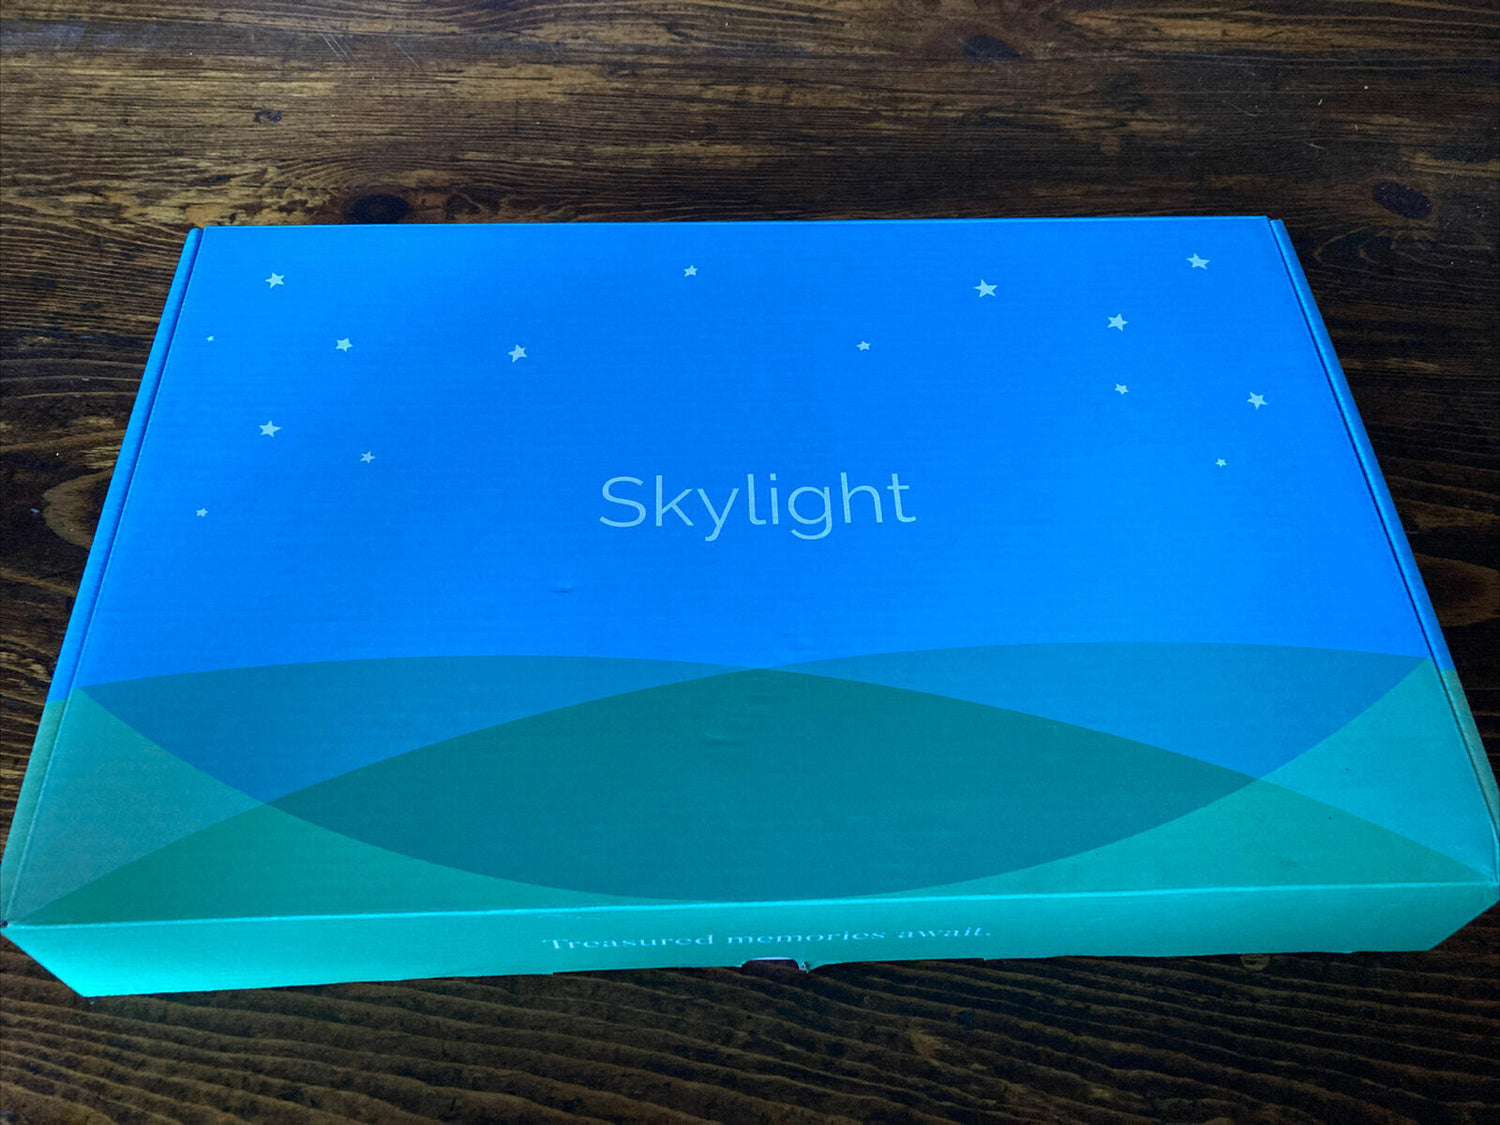
Our competitors today fall within the same price range, but they bring different features to the table. In one corner, we have the Dakboard Touchscreen Smart Display 24 Inch, a powerful companion designed for effortless organization and control right at your fingertips. On the other side, we introduce the captivating Skylight Frame, a digital display that goes beyond displaying cherished memories – it aims to be the intelligence behind managing your home.
Undeniably, the Skylight Frame enjoys considerable popularity, but the question remains: is it truly superior to its competitor? It's time for a friendly showdown, where technology meets functionality.
Get ready to dive into a world where technology and functionality come together. Join us on this exciting journey as we decide which digital frame stands out as the best in 2023. The stage is ready, the competitors are prepared—stay tuned to find out the ultimate winner.
Dakboard Touchscreen Smart Display 24 Inch: At first glance
Traditional photography frames have been our trusty companions for many years, but it's safe to say that our expectations have evolved. They're easy to forget, often neglected, and not very adaptable to change. Modern electronic screens, however, offer a realm of new possibilities, ones that were out of reach just a few years ago.
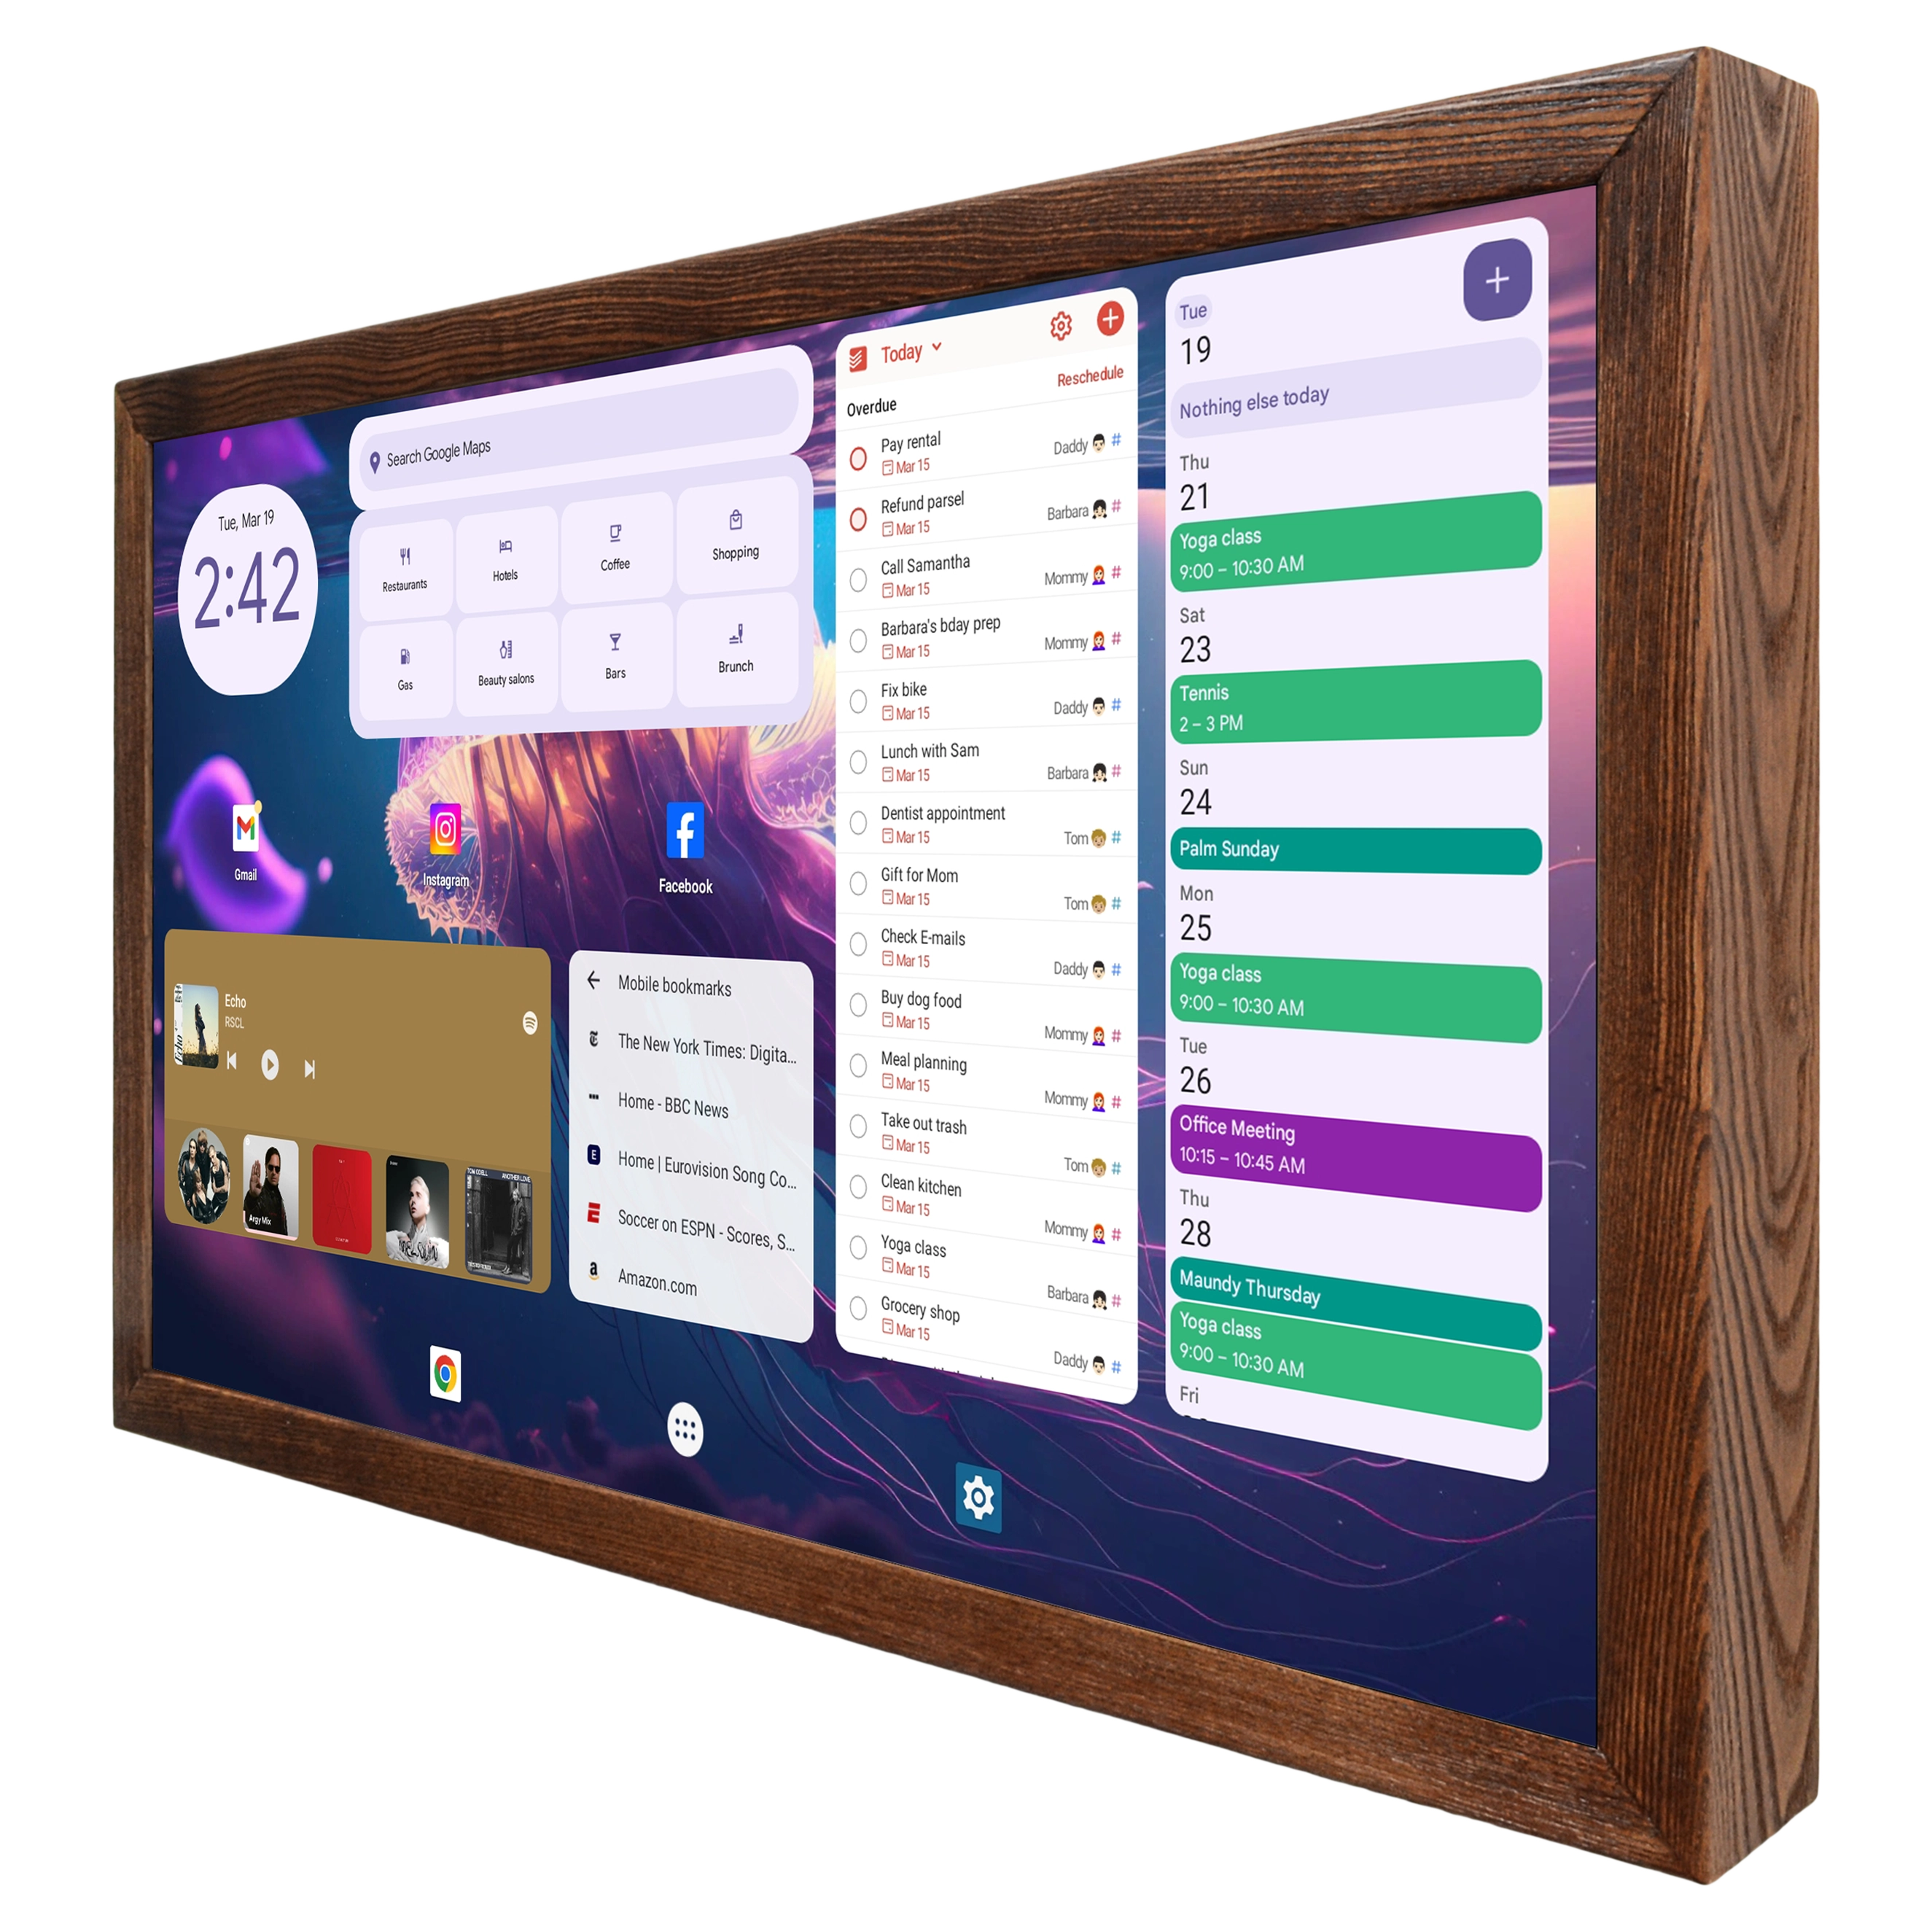
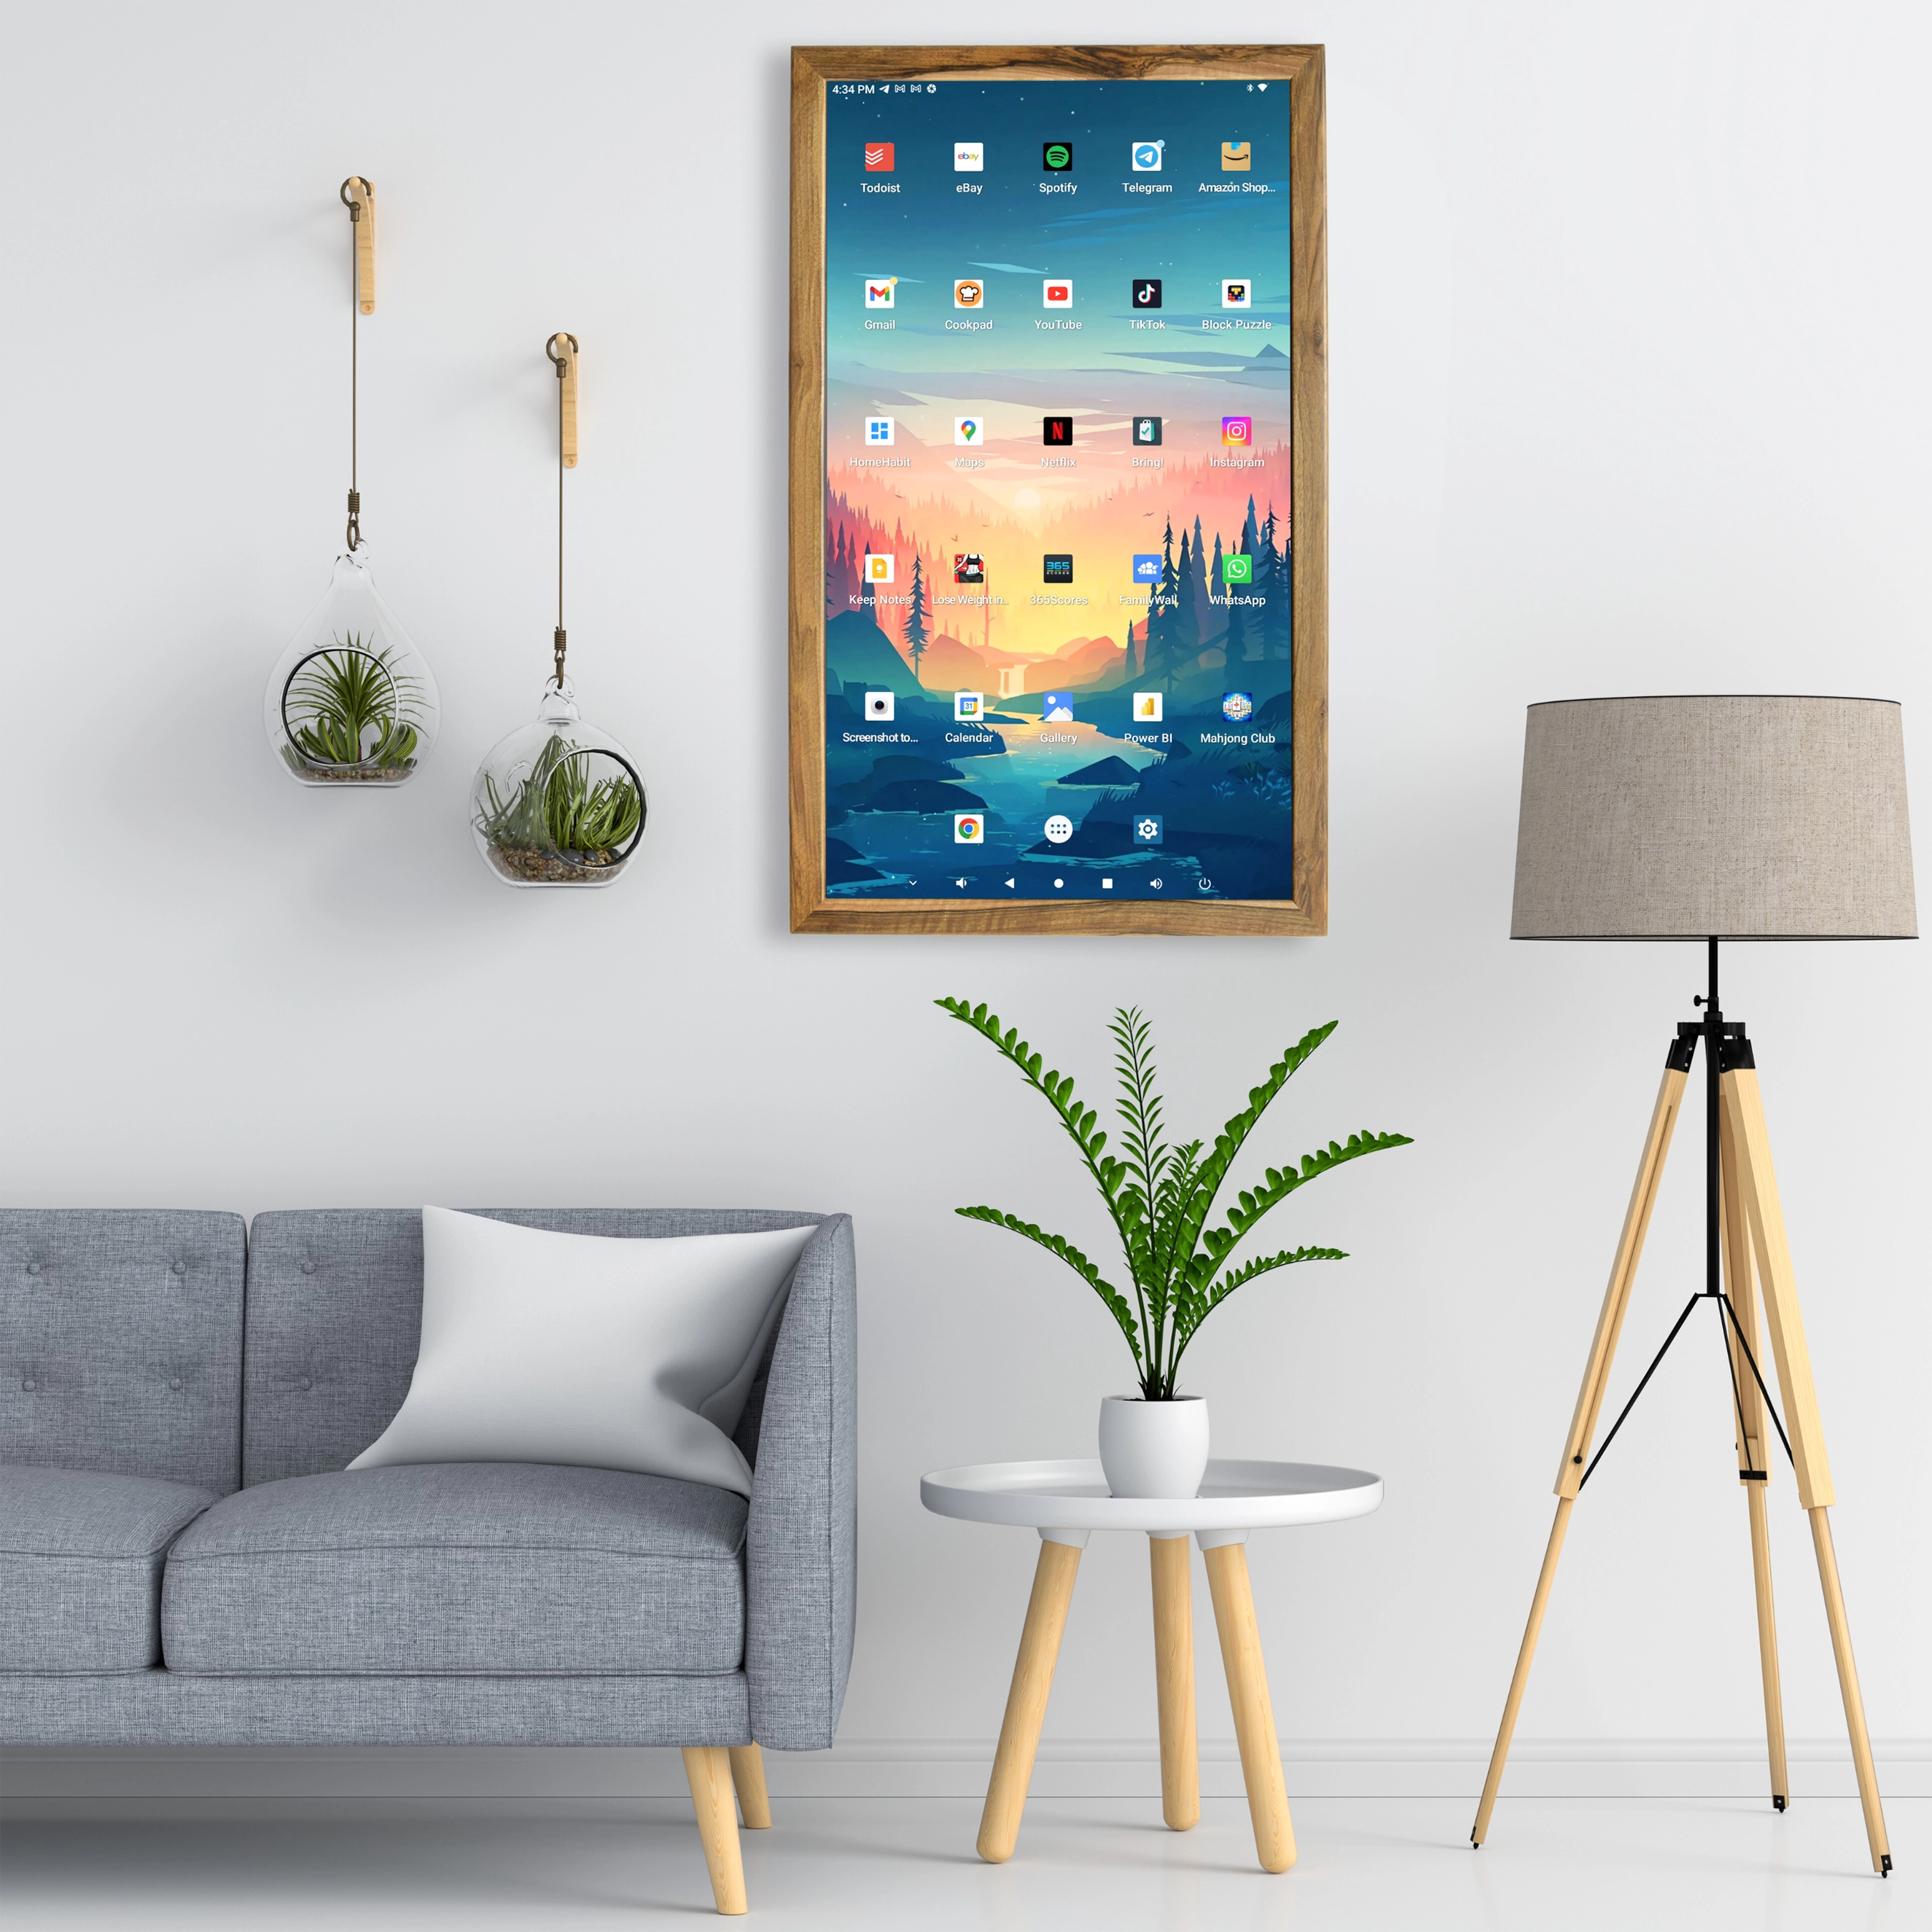
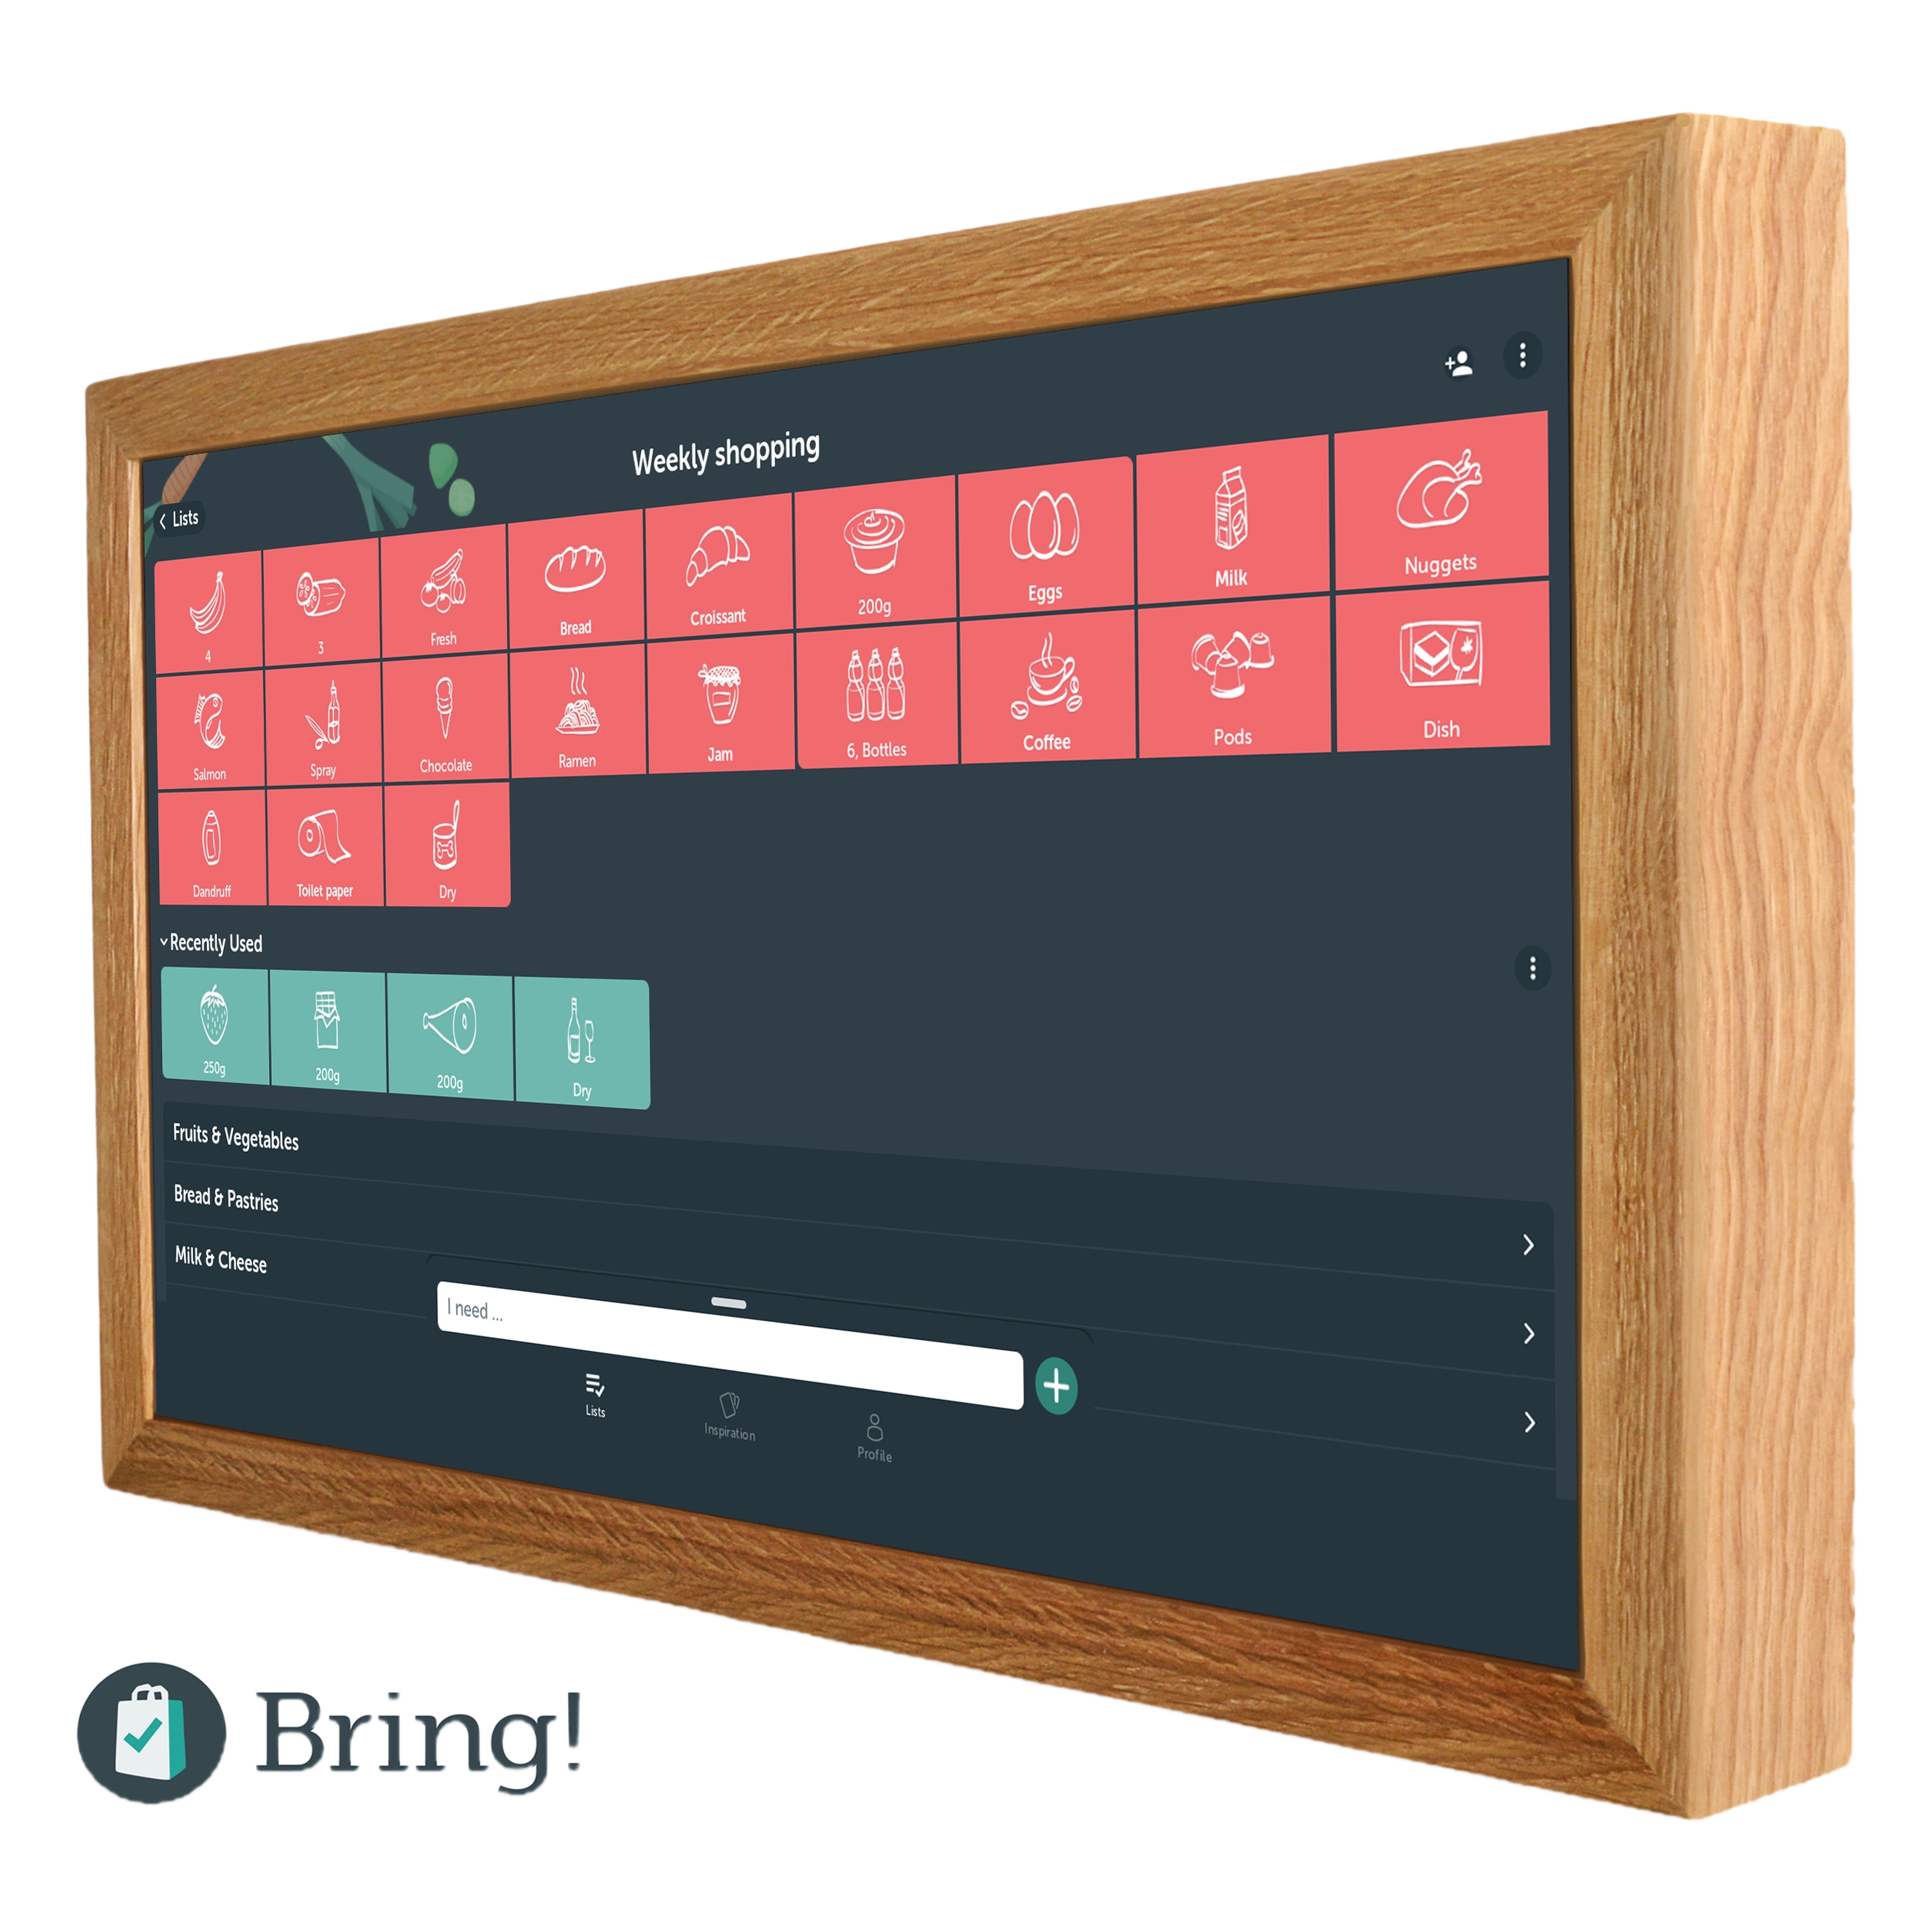
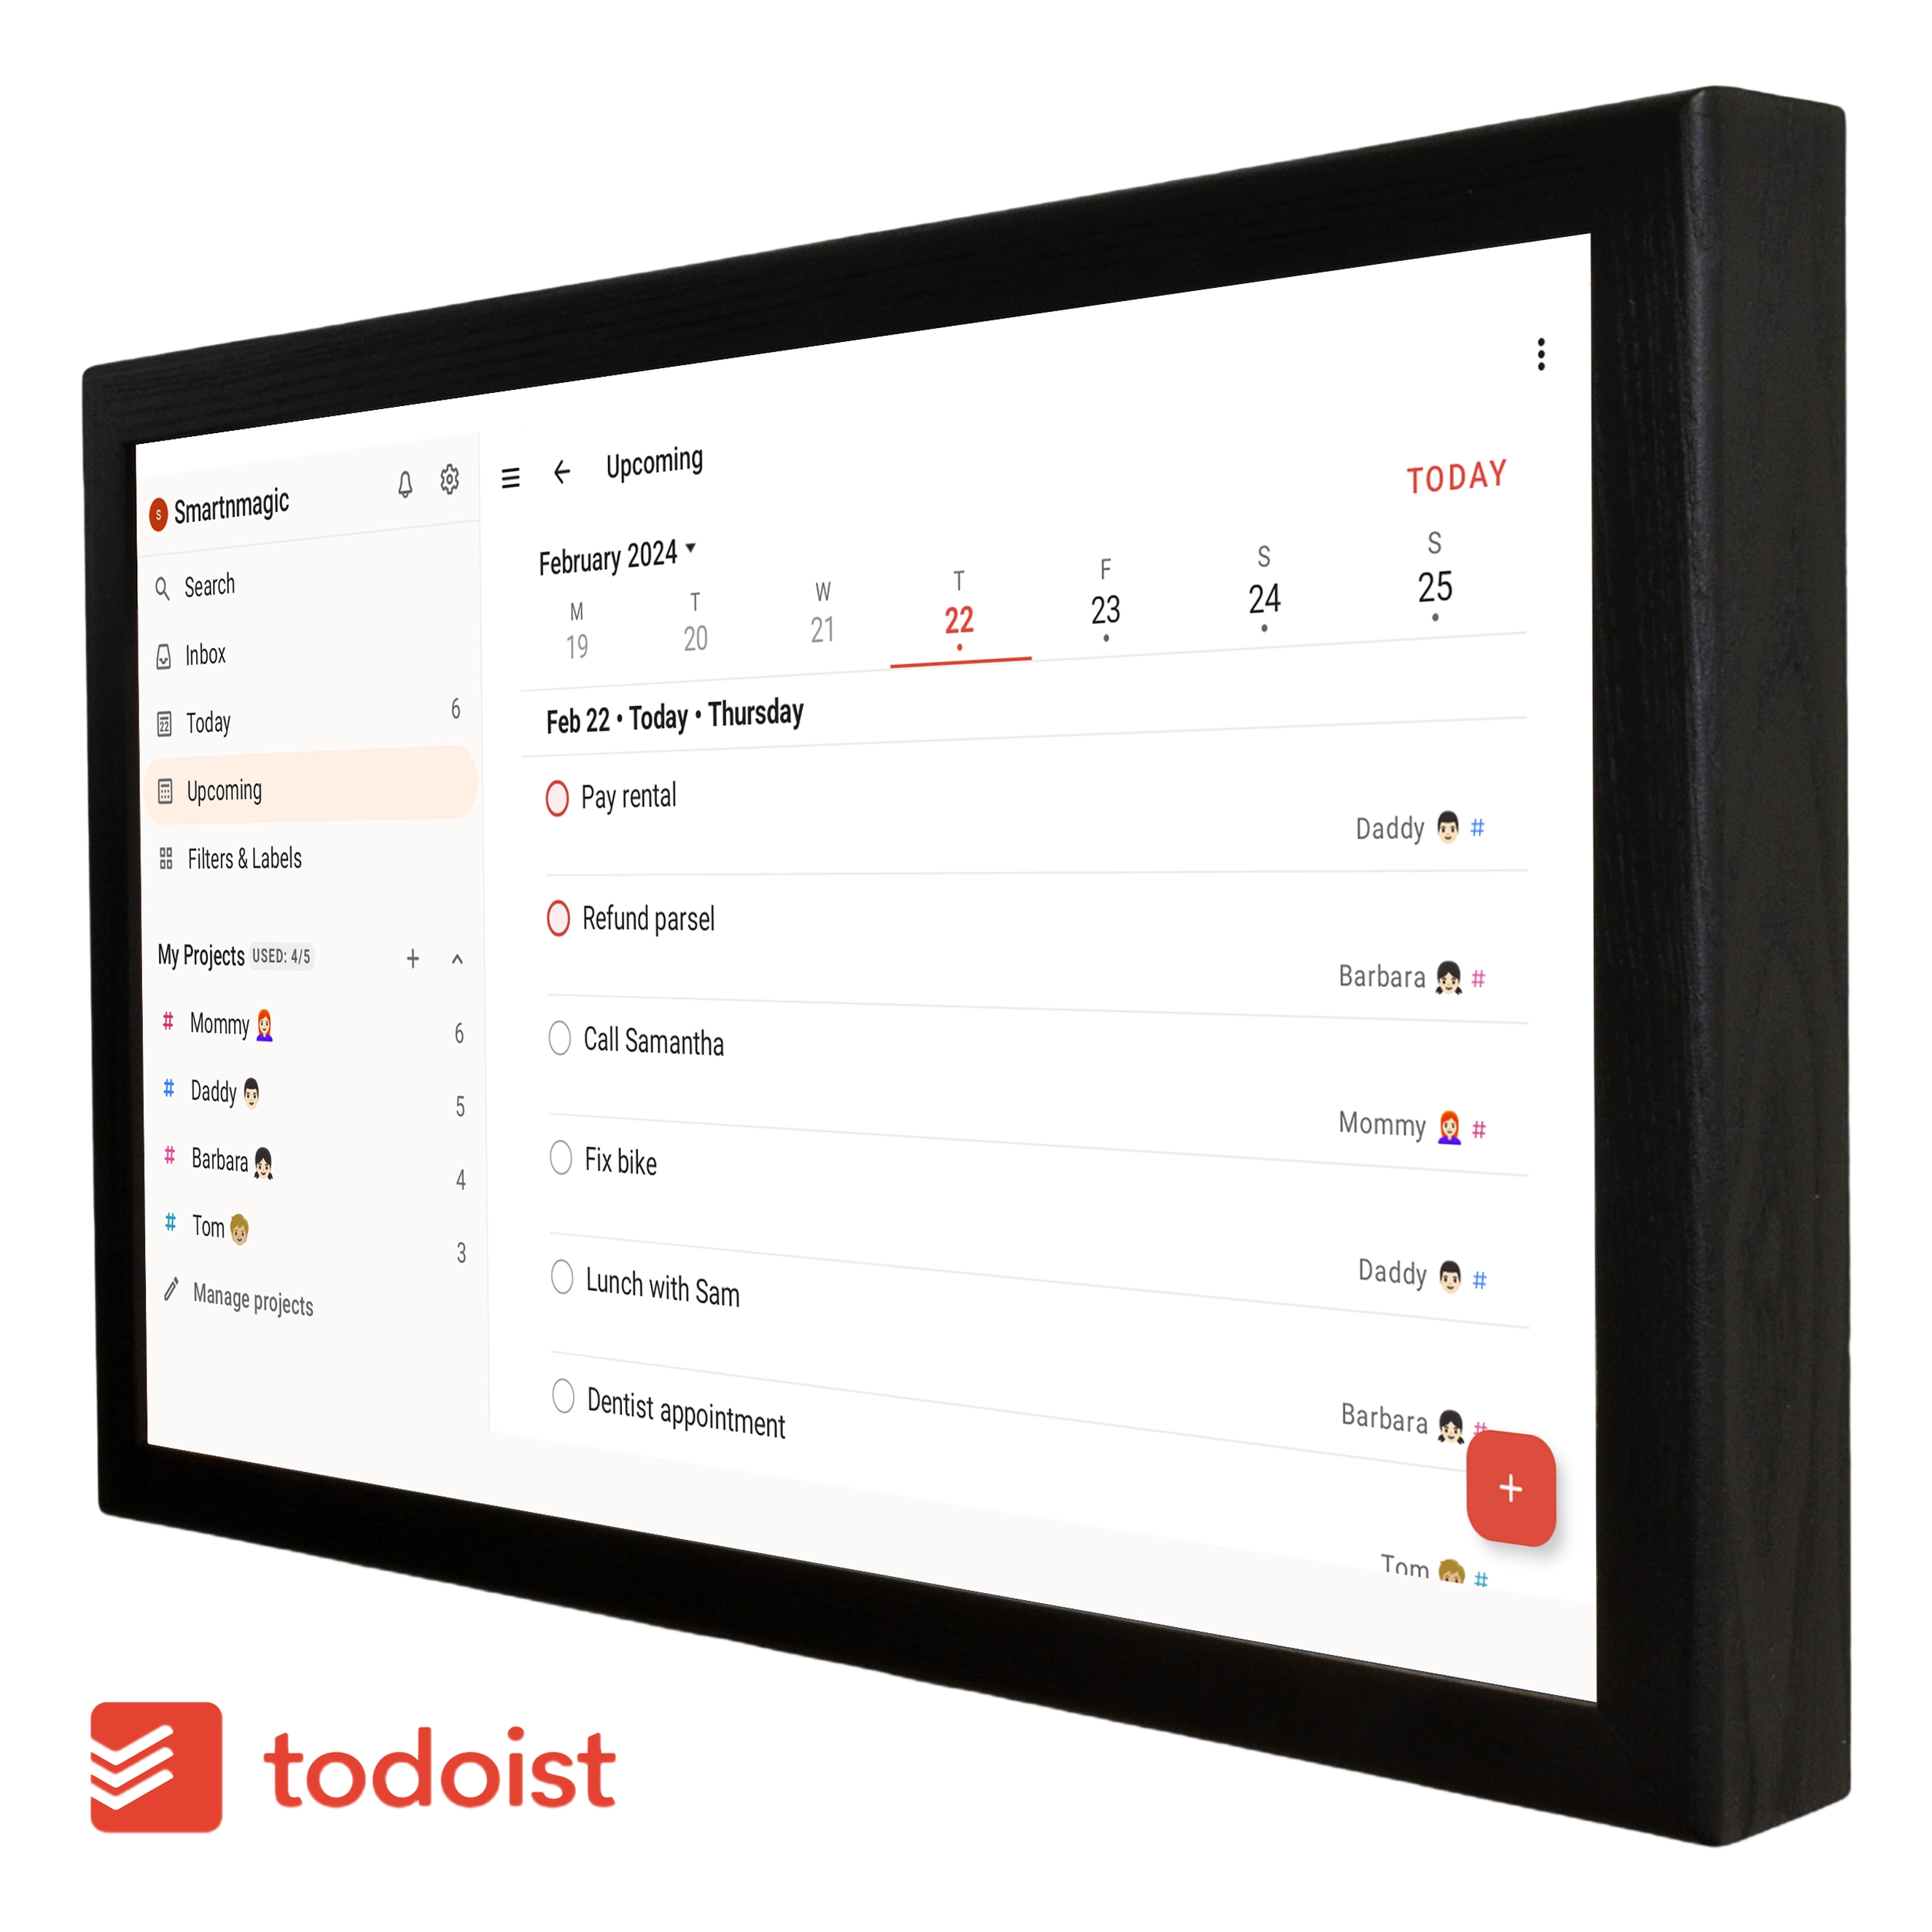
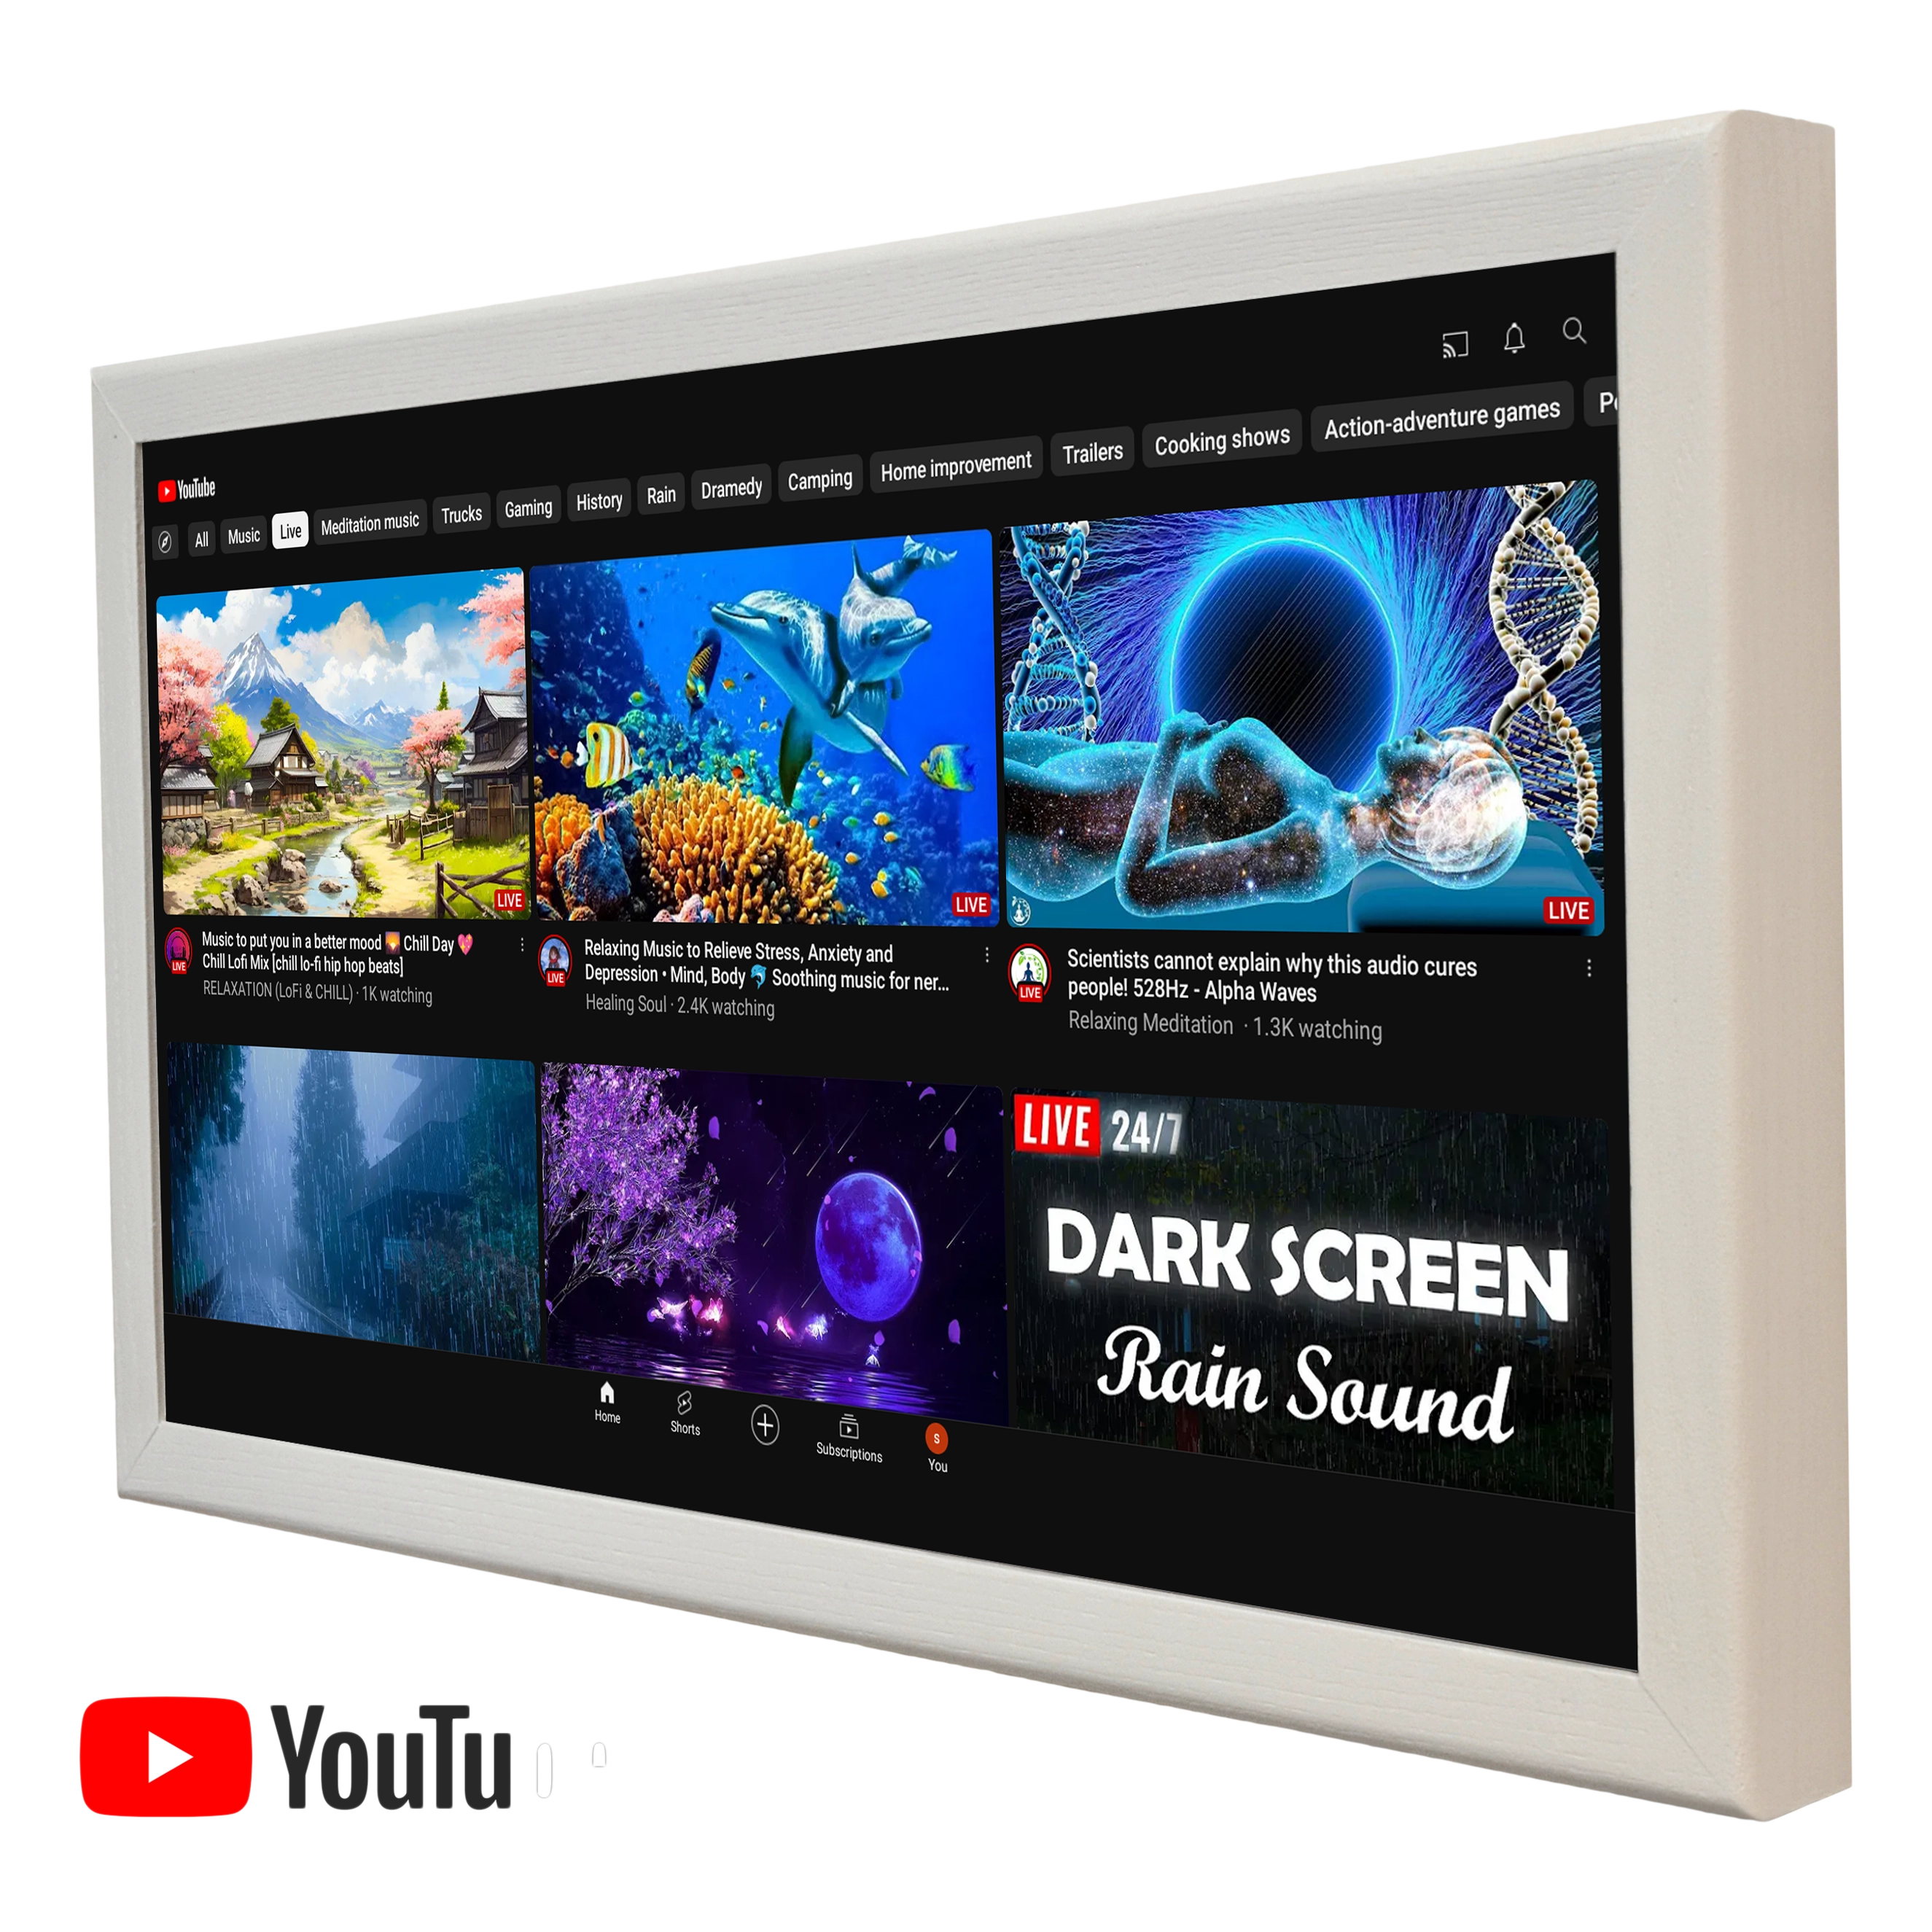
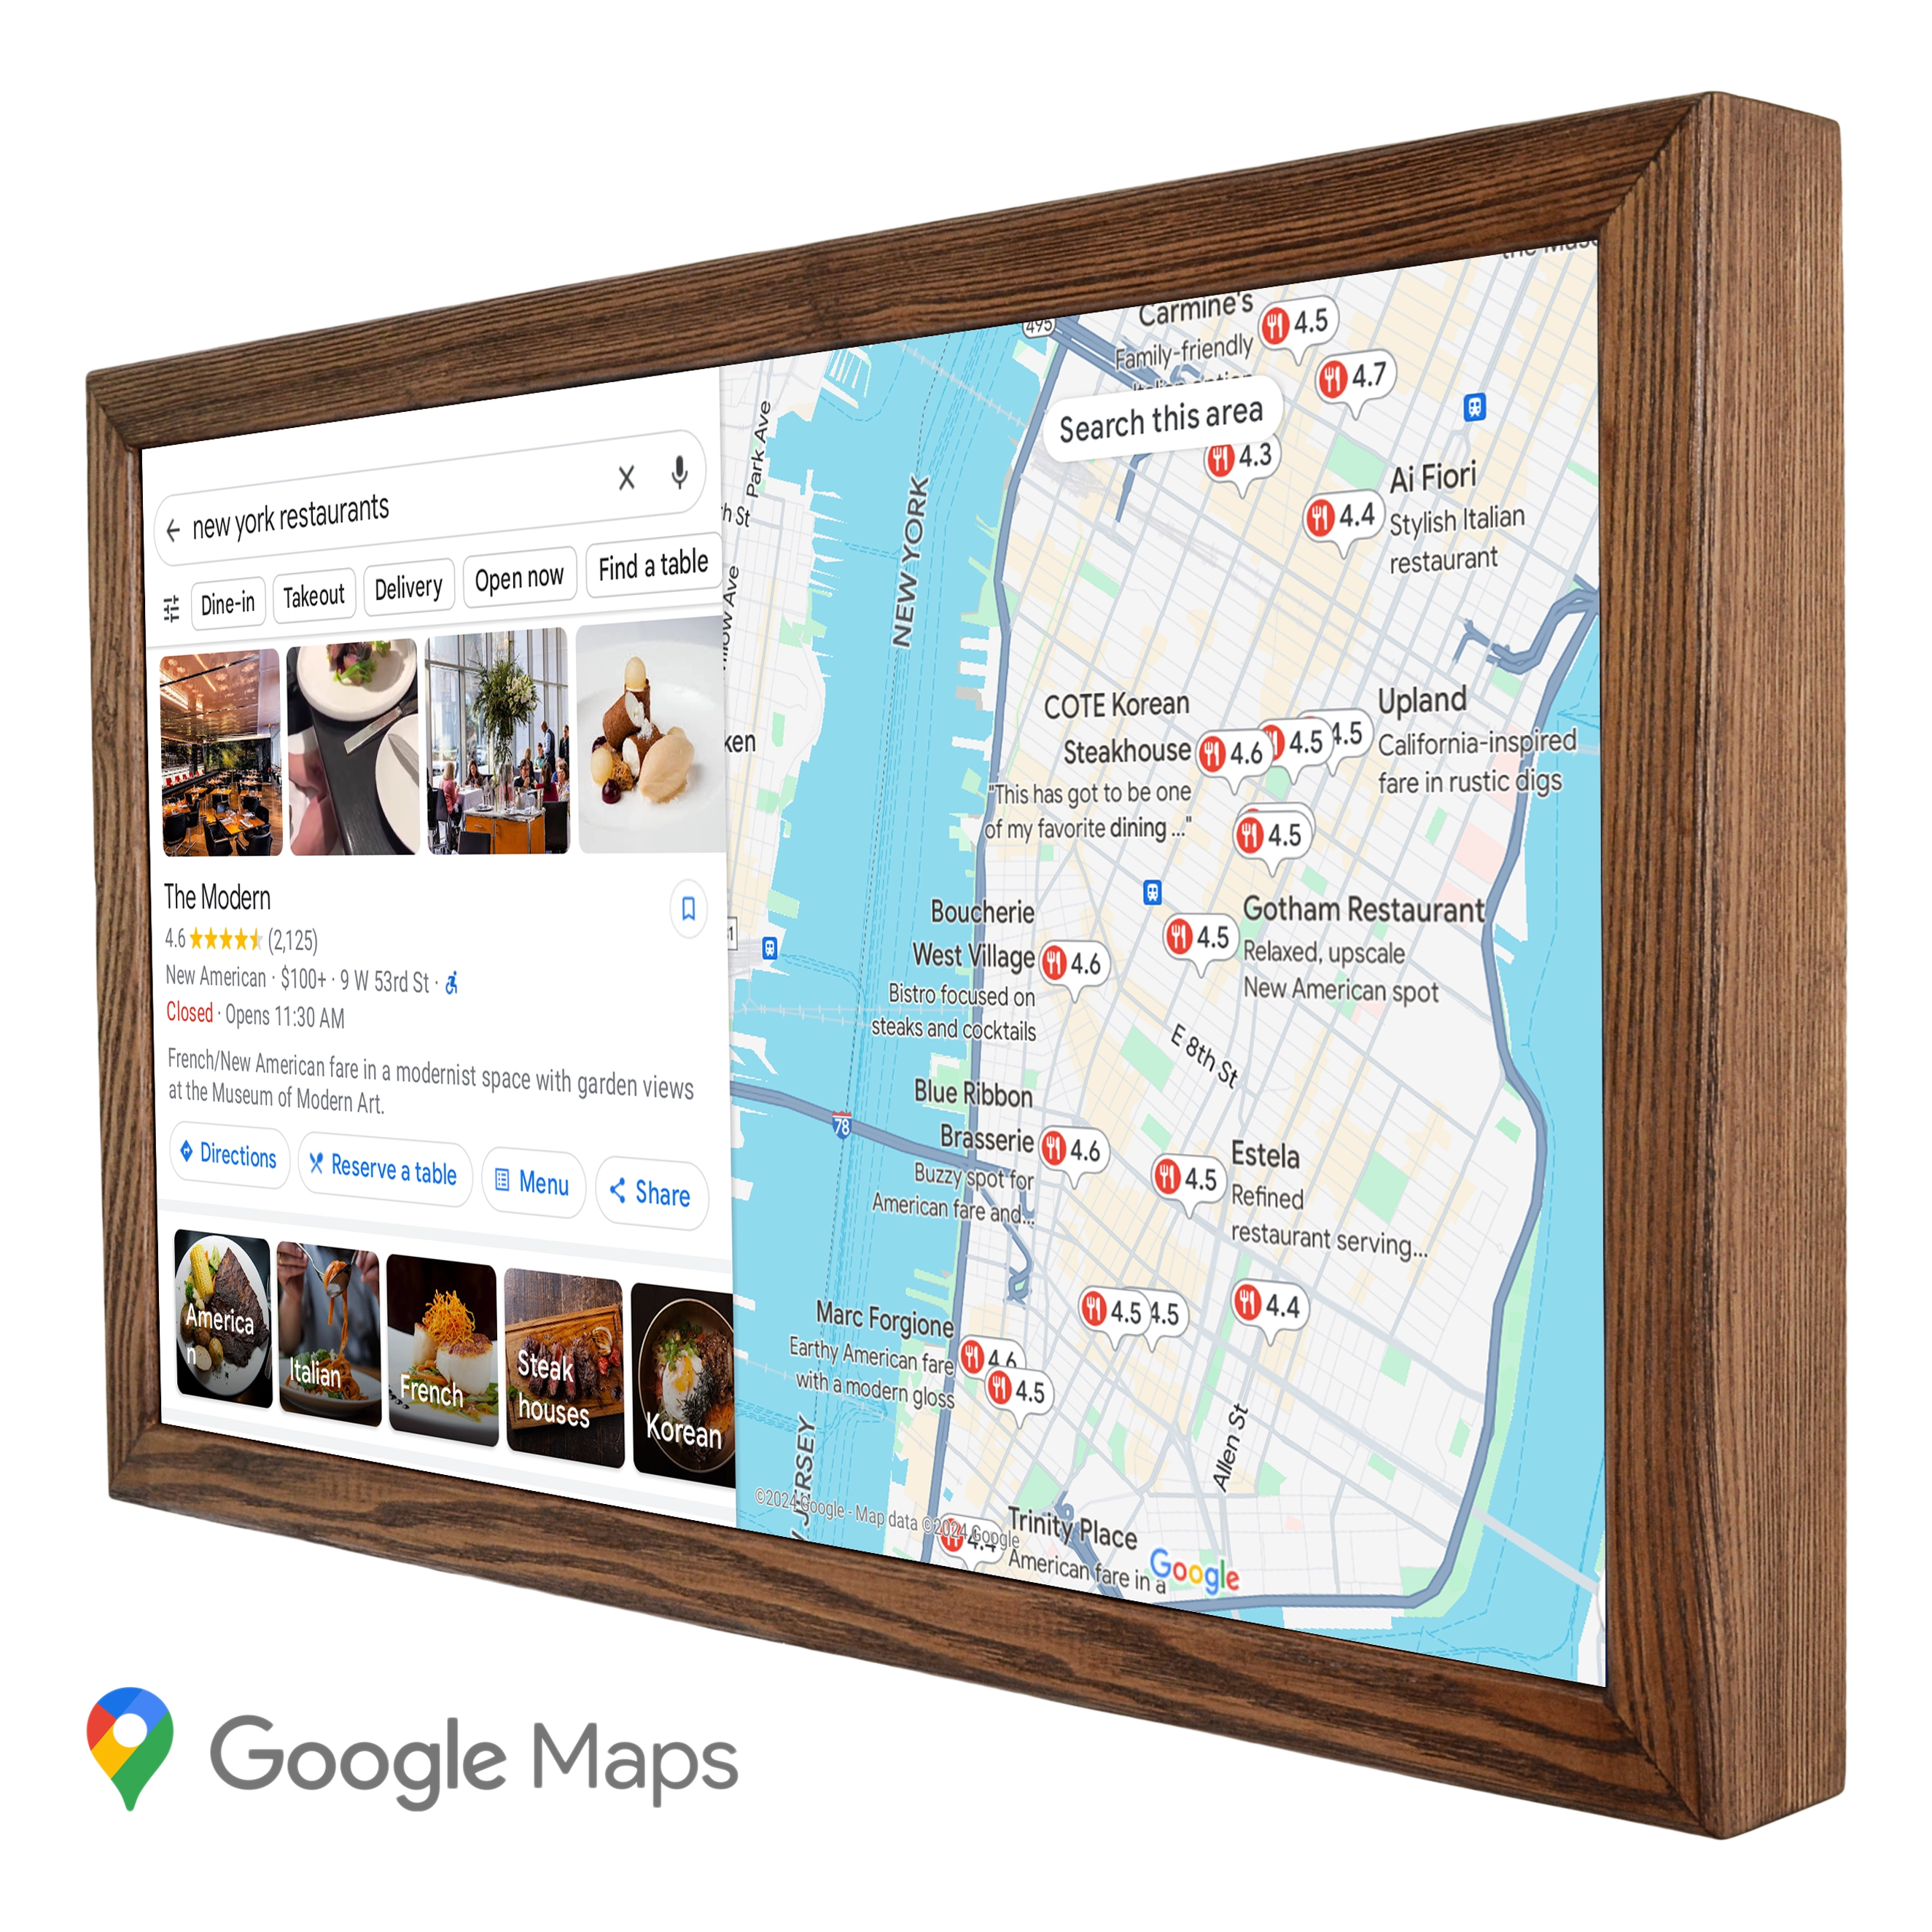
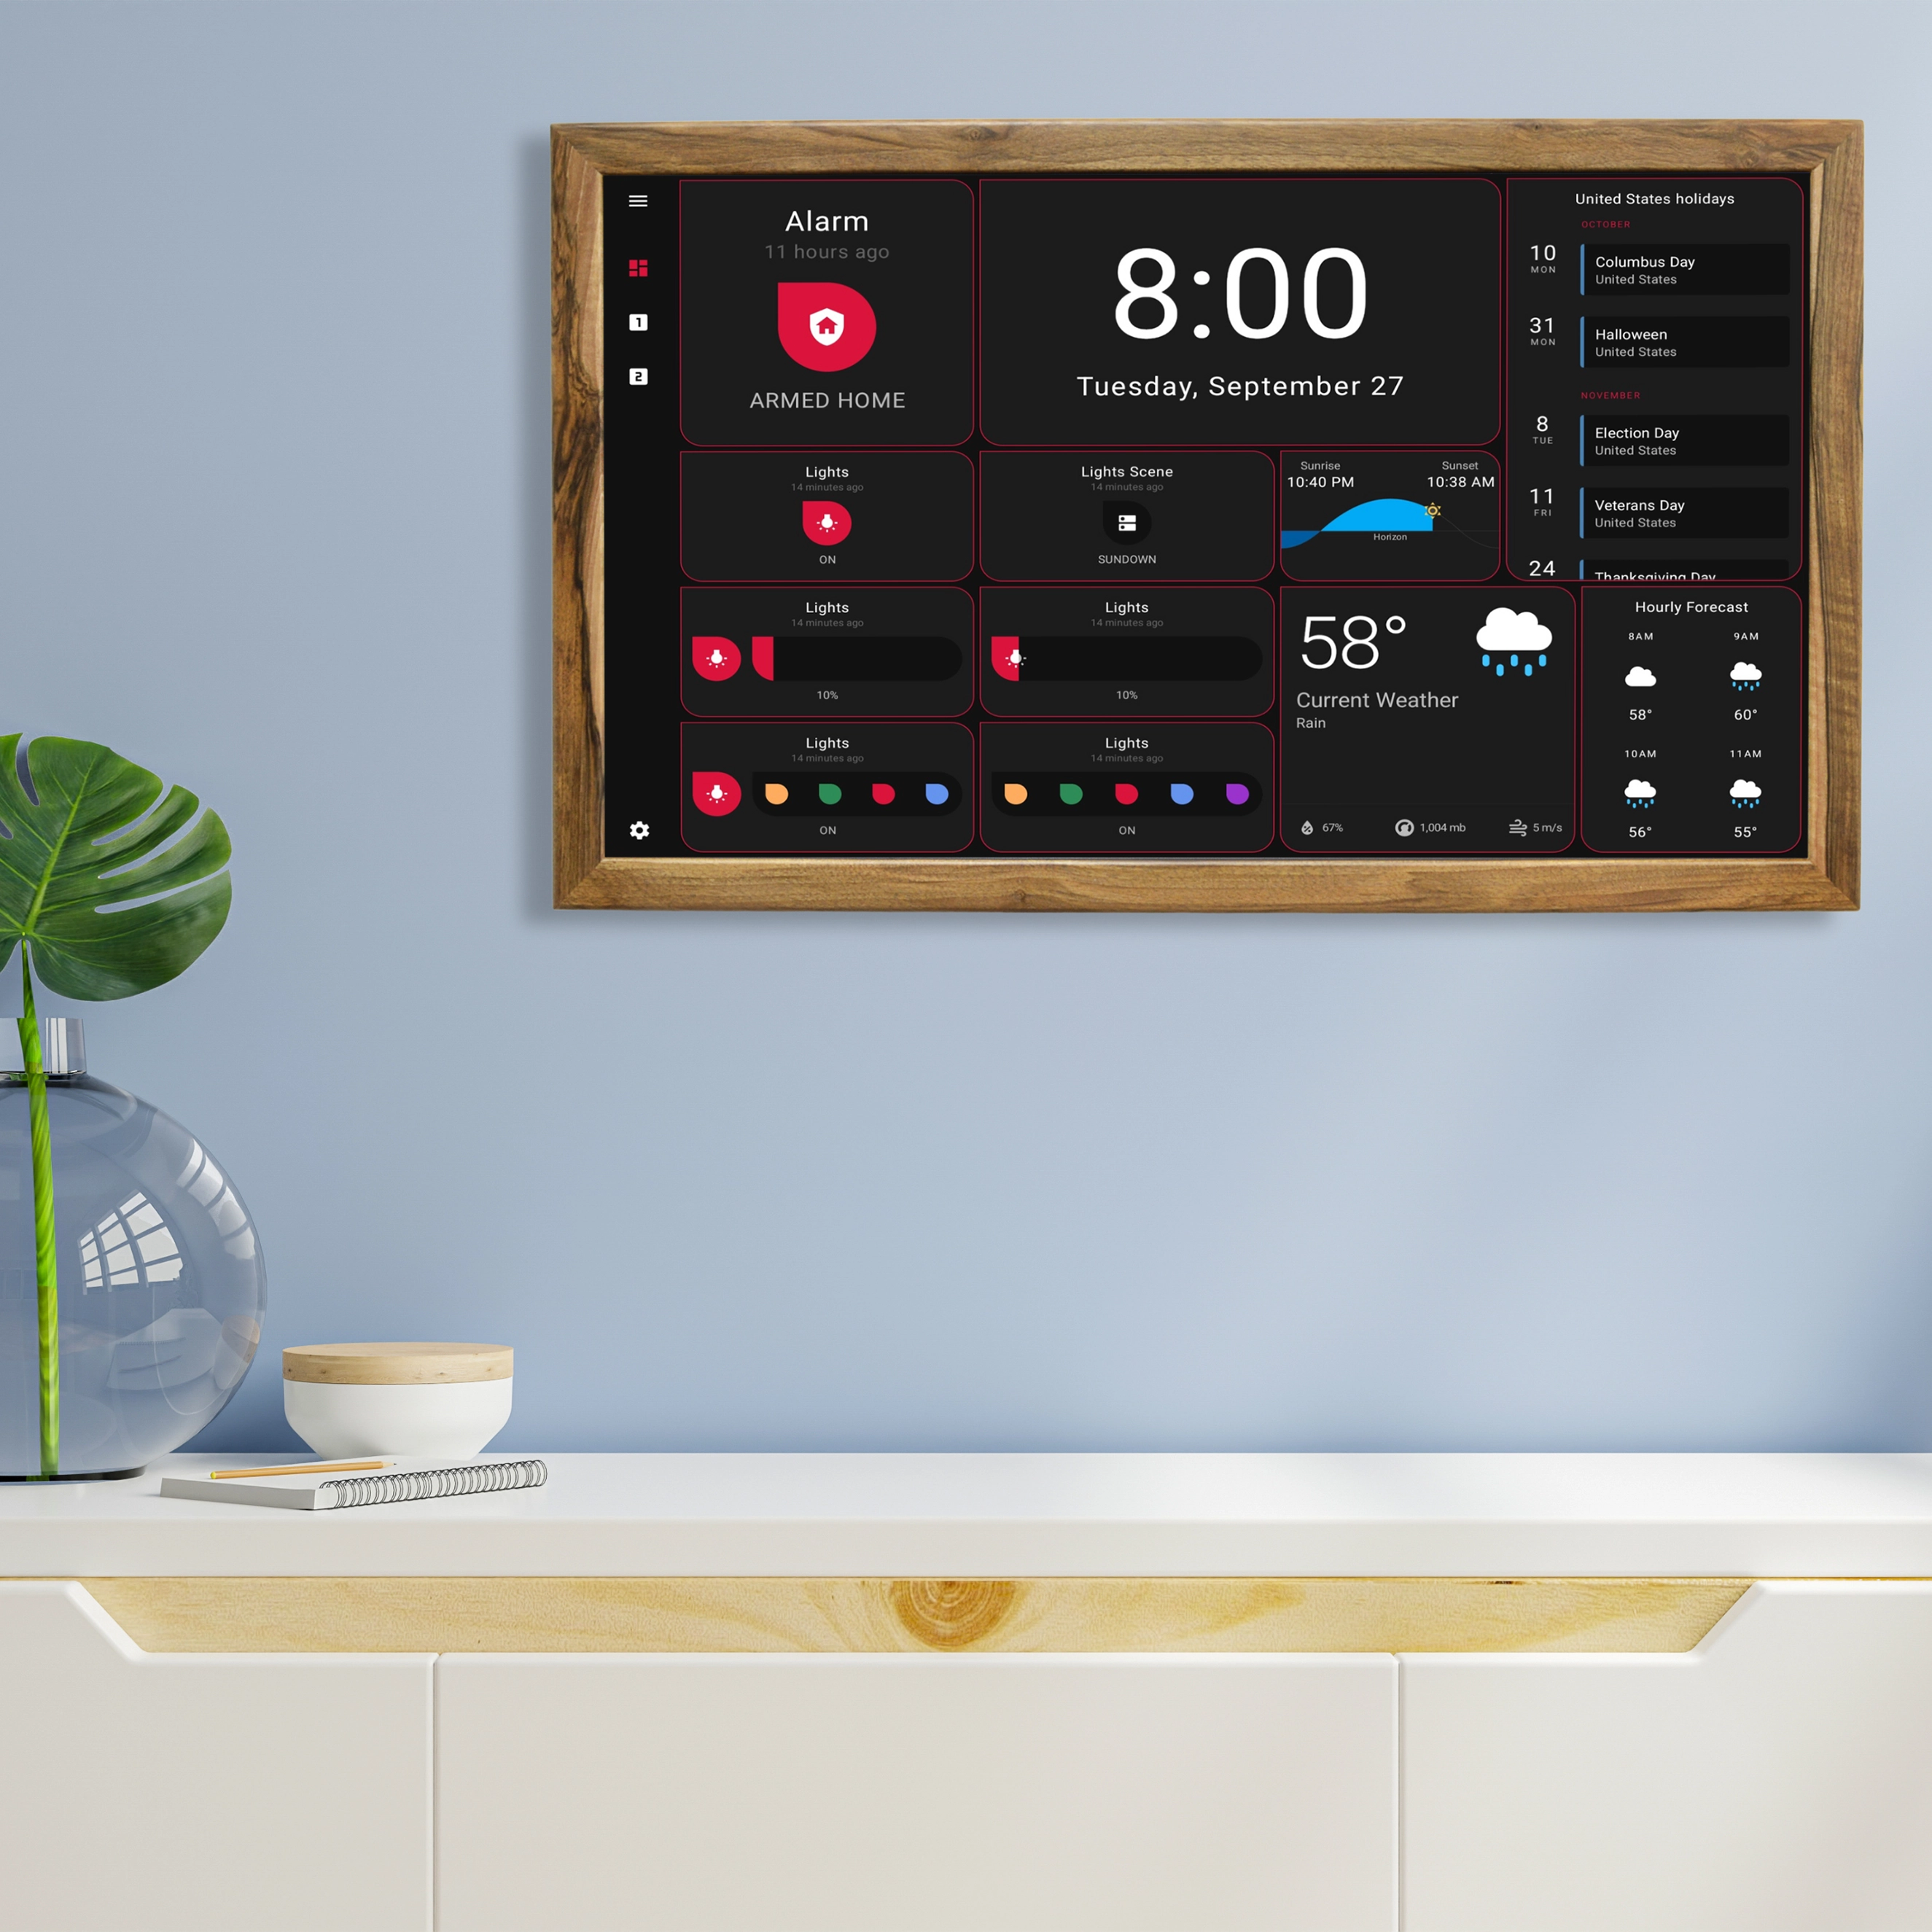
Introducing our contender from the right corner of the ring: the Dakboard Touchscreen Smart Display 24 Inch. This digital wall display features a capacitive touchscreen, aiming to bring simplicity and engagement to your home.

With customizable screen layouts, support for multiple screens catering to various themes, content scheduling options, access to your media library, and a 'screen loop' feature, this technological wonder is poised to revolutionize your home management. At first glance, it appears to outperform the Skylight Frame, so let's delve deeper into its features.
Skylight frame: Is It Worth It?
At first glance, the Skylight Frame might seem like just another Wi-Fi digital display. However, we're here to dive into the details, so let's get down to the facts and gather more information.
With its elegant design and innovative features, the Skylight Frame offers a straightforward way to display your cherished memories with stunning clarity. Let's compare the Skylight Frame to our previous contender.
Screen Size and Resolution
The Skylight Frame boasts a 10-inch diagonal screen, ensuring it can find a place in your home with ease. With external dimensions of just 12" x 8.5" x 0.9", it not only maintains a compact footprint but also adds a touch of style that seamlessly blends with any home decor. The Skylight Frame occupies minimal space on your tabletop or shelf, all while drawing attention with its modern aesthetic appeal.

Skylight Frame has a 10-inch display which provides enough space for showcasing all your treasured photographs. However, if you fall into the "age comes with wisdom" category, you might prefer a larger diagonal size. Thanks to Skylight Picture Frame IPS display and a resolution of 1280x800, each image is free from glare, radiating with vivid colors and sharp details. Whether it's family vacations or special occasions, you can relive these moments with the Skylight Frame as if they were unfolding right before your eyes.
Conclusion: A Compact Design that Fits Anywhere
What about Staying Organized While Enjoying Your Photos?
Unfortunately, aside from its impressive photographs capabilities, the Skylight Frame doesn't double as a calendar. It excels at showcasing beautiful photos, but tracking important dates such as birthdays or anniversaries isn't part of its offer.
Setting up and Activating the Skylight Frame
The Skylight Frame offers a straightforward setup process. Once it powered on, a simple touch on the screen initiates the connection to your home Wi-Fi network. You will need to select your home network from the list of available networks, enter your password, and specify an email address where you will send your photos. In essence, a routine process aligns with how most Internet-connected devices are set up today. After a successful activation of your Skylight Picture Frame, you'll receive a code via email, which needs to be entered on the device's screen.
Sending Photos to the Skylight Frame
You can either take it with your mobile phone or upload pictures from your computer. To upload them to the Skylight Frame, all you need to do is send an email with the photos as attachments to your device's designated email address. Via the internet, then they are transferred to it. The entire process takes about a minute, which is impressively swift. Of course, if you're sending a large batch of photos, a bit more patience might be required. Sharing your Skylight Frame's unique email address with friends or family allows them to send photos directly to it.
Managing the Skylight Frame
As mentioned earlier, the Skylight Frame is equipped with touchscreen control, a de facto standard for such devices in today's tech landscape. You can configure various display modes, switch from slideshow mode to album mode, and determine the duration of individual photo displays. You can also pause your slide show to savor them a bit longer. Brightness levels for the display can be set manually or adjusted automatically.
New Photo Notifications
When new photos arrive, a notification appears at the bottom of Skylight’s Frame screen. By tapping the notification, you can instantly view the new arrivals.
The Gratitude Button
One noteworthy feature of the Skylight Picture Frame is the gratitude button. If you particularly like certain photos, you can express your appreciation by tapping the heart icon on the screen. The sender will receive an email notification indicating that you've appreciated it. It's a simple way to foster communication and stay connected.
Viewing Photos without Wi-Fi
To view photos on your Skylight Frame without a Wi-Fi connection, you'll need Wi-Fi for the initial transfer. However, once they are uploaded, an internet connection is not required to view them.
All this convenience comes at an annual cost of $39, which, in our opinion, is reasonable considering the value Skylight Frame provides. In comparison, Dakboard offers a similar service for $48 annually, which we'll delve into further.
Conclusion: Skylight Frame Offers Great and User-Friendly Photo Display Features, but Requires a Subscription
Skylight Frame delivers exceptional and straightforward photo display features. However, it comes with a subscription cost of $39 per year. In our view, this cost is reasonable, given the benefits it provides. That said, let's move on to evaluating our second contender in the ring – the touchscreen digital calendar with pre-installed Dakboard.
Here's a partial list of what this device can do:
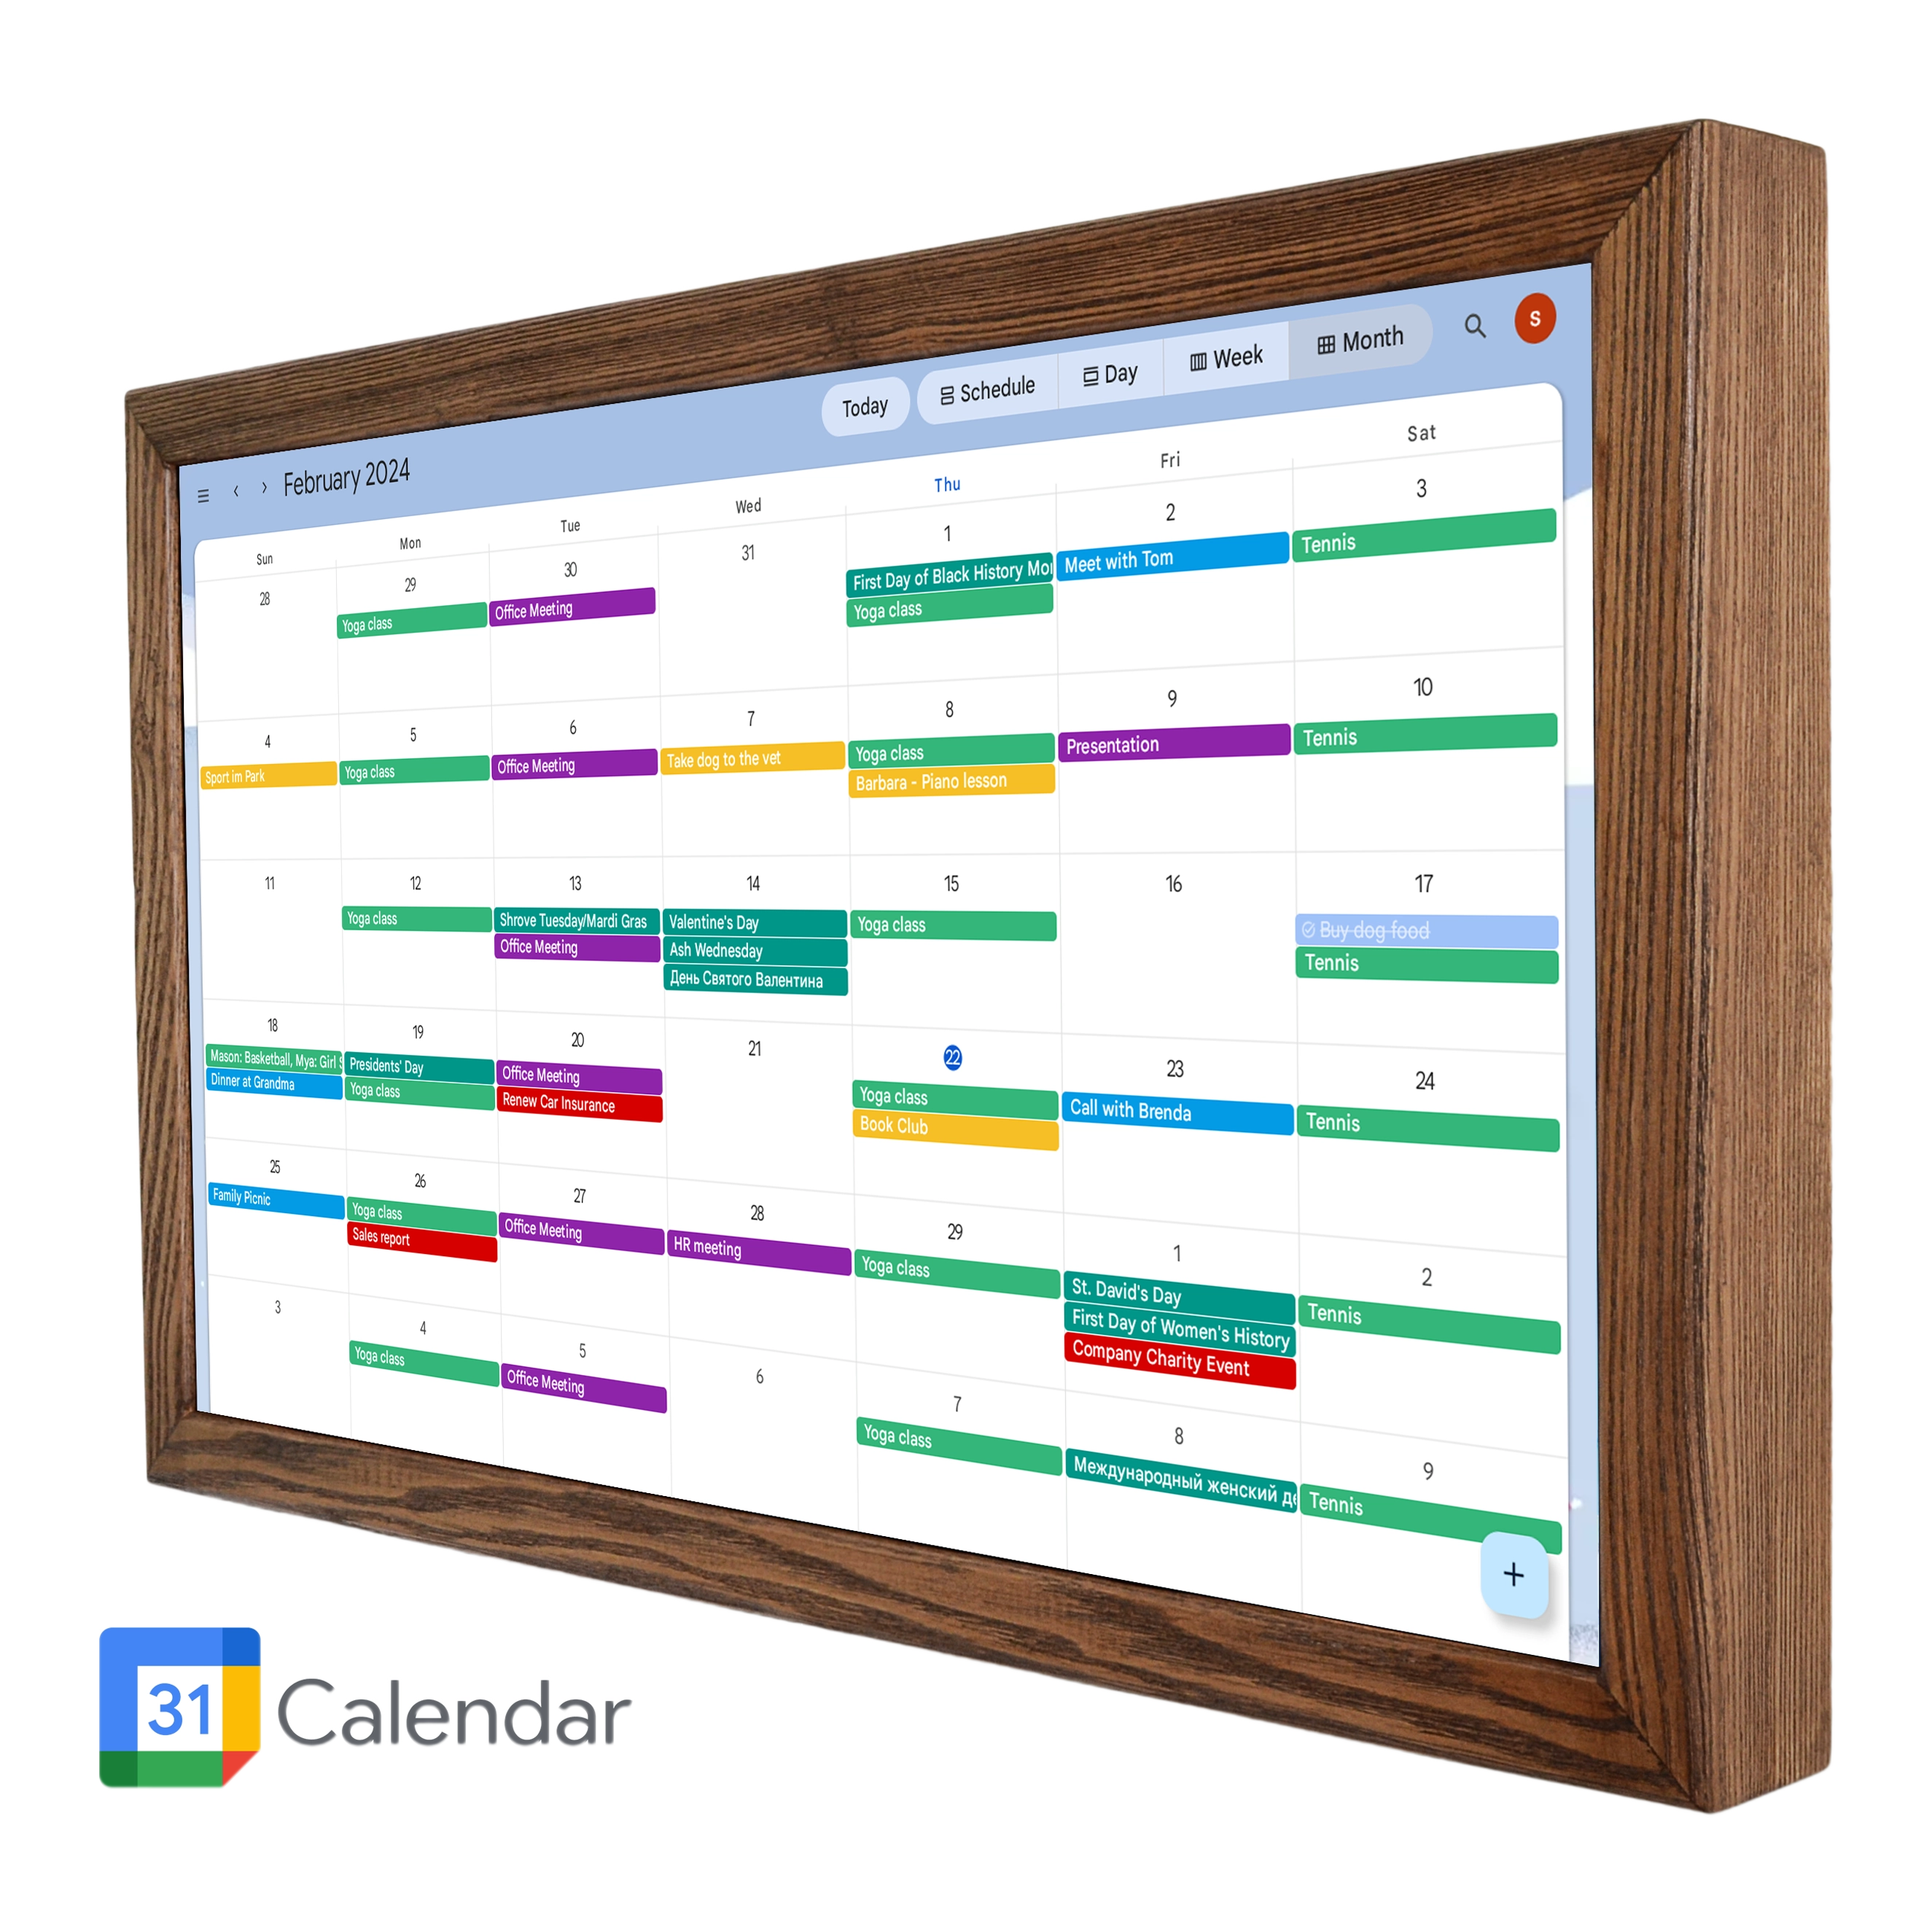
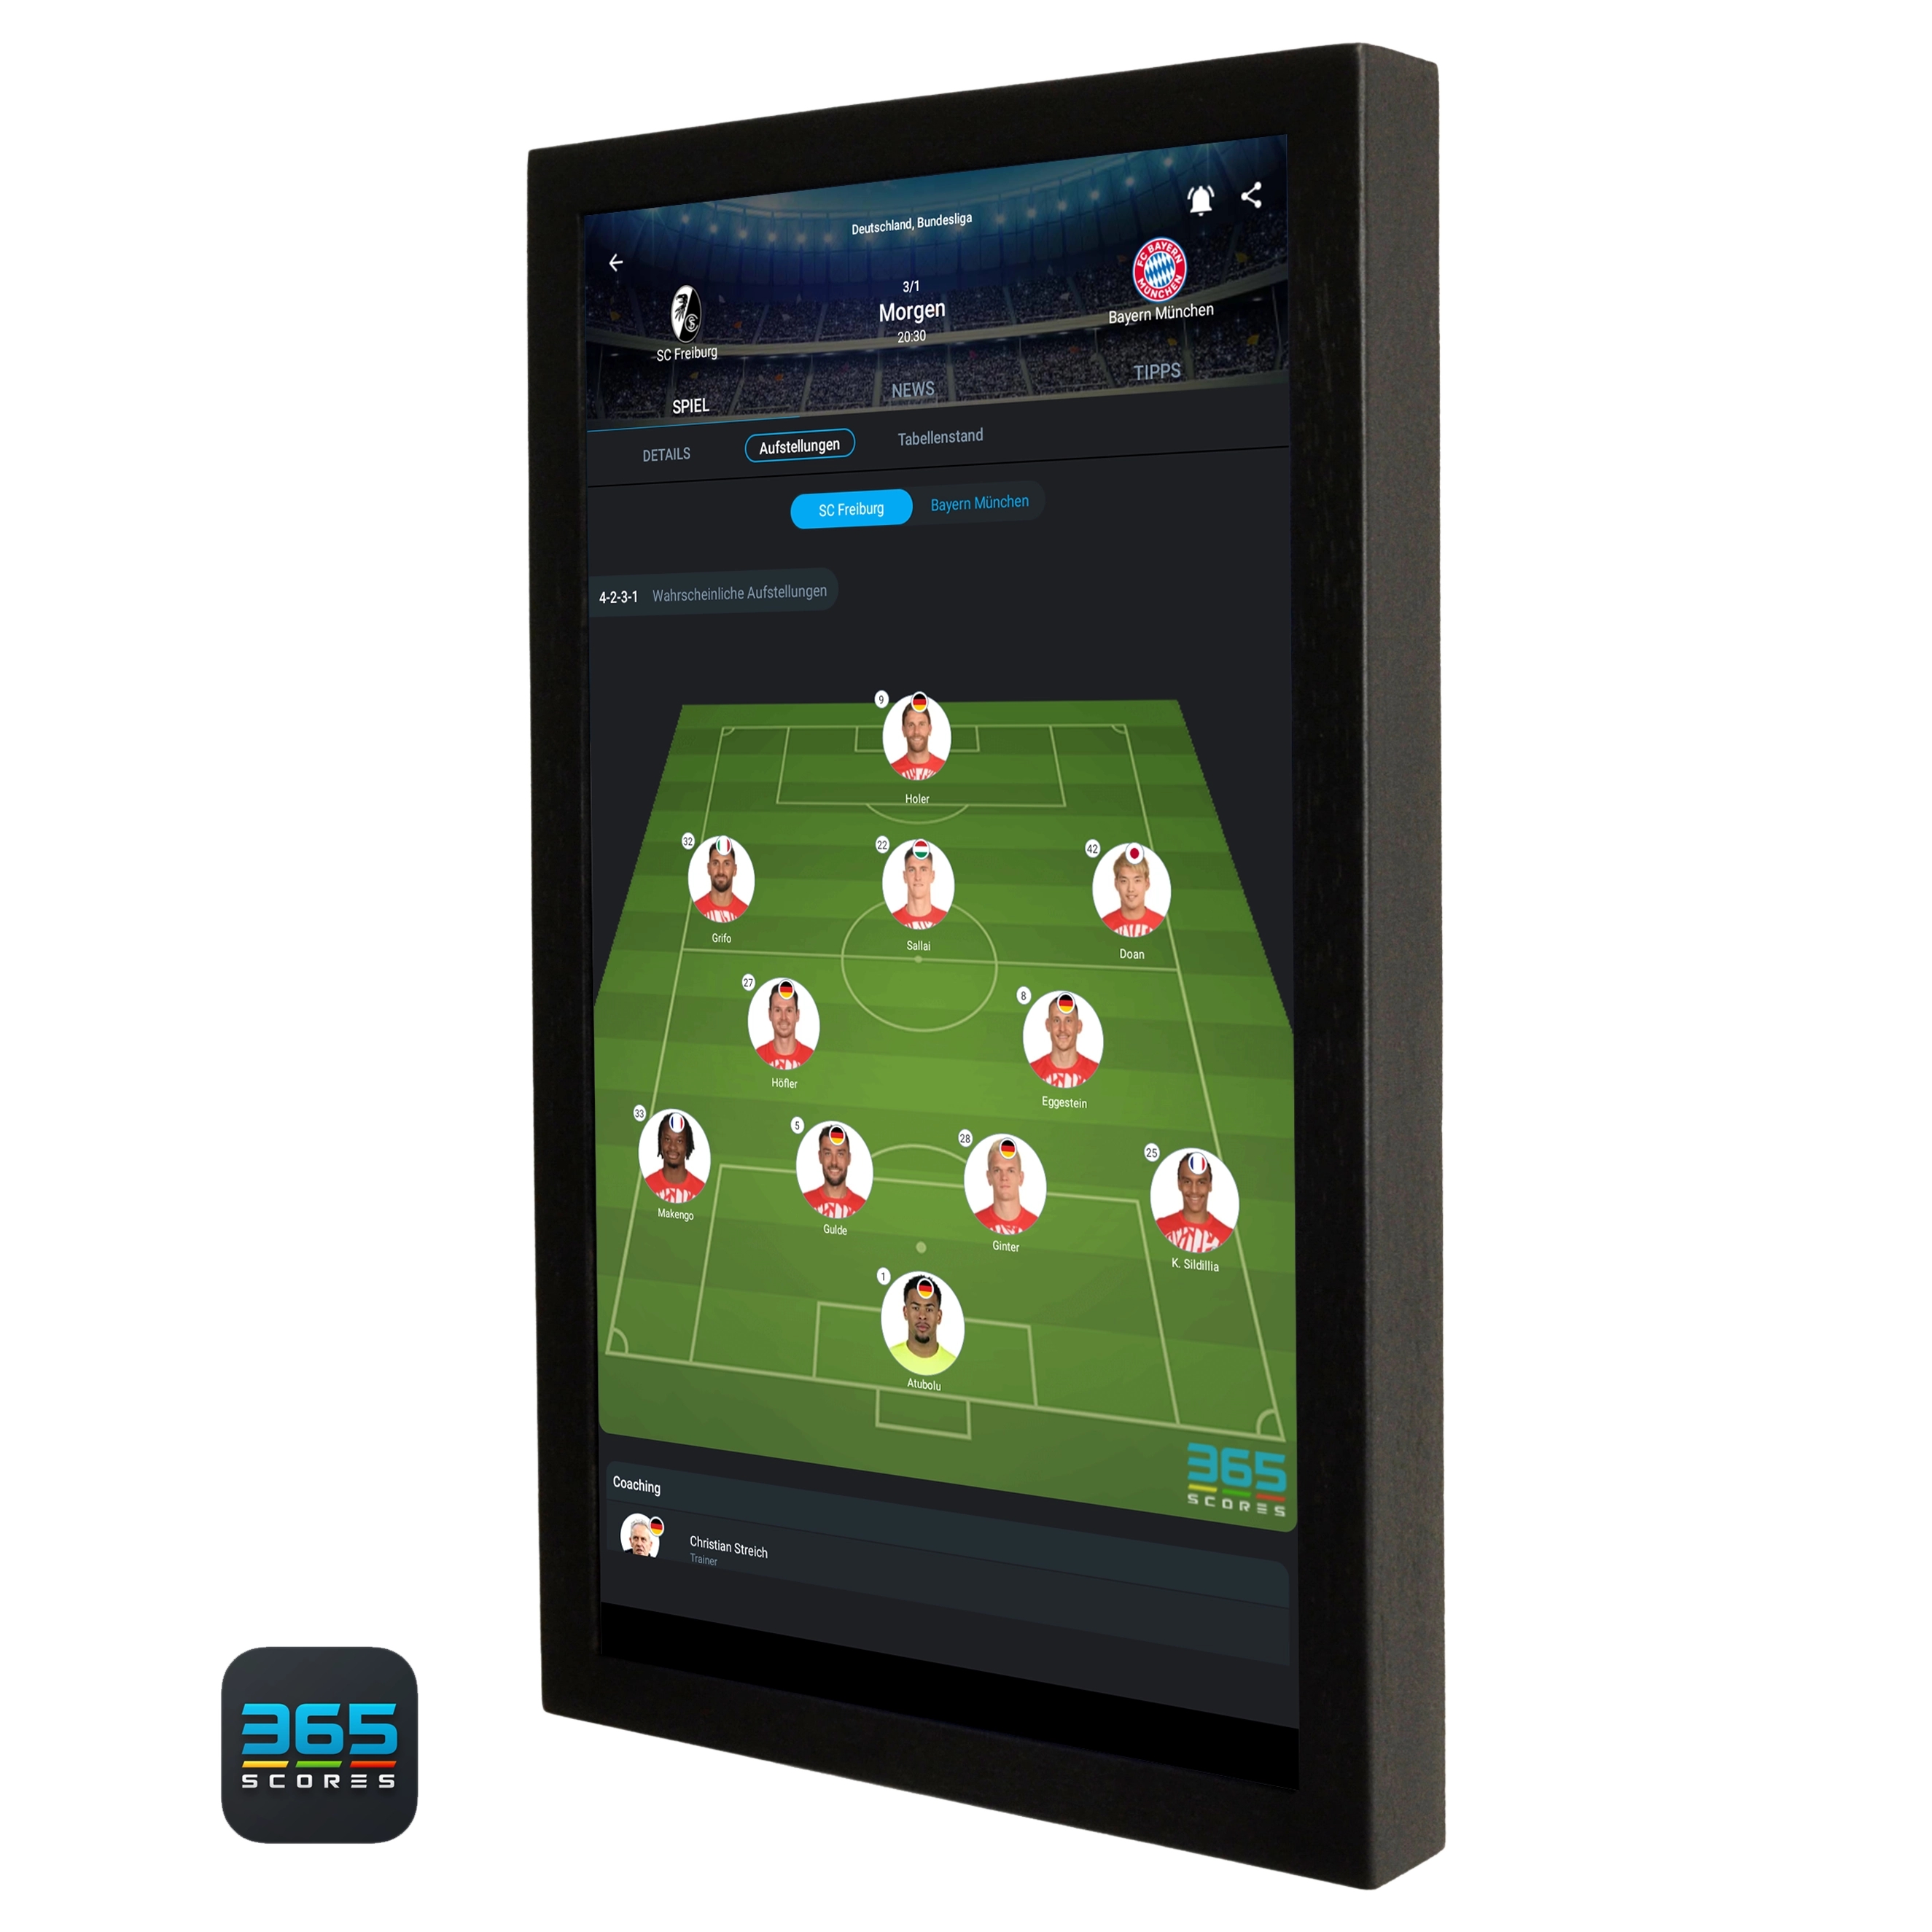
Display personal calendars, to-do lists, images, time, weather, news, stock quotes, and estimated arrival times considering traffic conditions, among many other functions.
But let's focus on its digital photo frame capability, which we're comparing to the Skylight Frame.
Displaying Photos on the Dakboard Smart Display
First and foremost, displaying your content on a 24-inch screen offers a wholly distinct user experience. After all, why do we still head to movie theaters, even though we have TVs at home?
Uploading photos to the Dakboard Smart Display is fundamentally different from the Skylight Frame. Dakboard allows you to integrate almost any cloud storage service, including Google Photos, Google Drive, Apple Photos, Microsoft OneDrive, SmugMug, Dropbox, Box, Reddit, and Bing. Your images are likely on one of these storage platforms, enabling seamless integration with Dakboard. Of course, internet access is necessary, but these days, who operates without it?
In this scenario, all your images become instantly available for viewing on the Dakboard screen. At your discretion, you can enable a smooth fade-in effect for photo transitions, or stretch them to full-screen mode if they're not in a 16:9 aspect ratio. Additionally, you can display metadata for each photo, such as the time and location where it was taken (provided this data was added during capture).
What sets Dakboard apart from the Skylight Frame is the ability to use Dakboard as a digital photo frame entirely for free. This means that such features on Dakboard are available on a free subscription plan. This aspect makes Dakboard unique, as most similar devices we know of typically require a paid subscription.
As a bottom line I can say that with the Dakboard, as a contrary to the Skylight Frame, you can have both devices in one: a digital wall calendar and a digital photo frame. So the choice is yours as to which product to favor.
